How to Manage HIPAA-Compliant Form Submissions
HIPAAtizer Form Submissions can be managed through both the Inbox page, as well as the Submissions Dashboard.
Inbox Page
Managing Submissions
Mark Submissions as Read
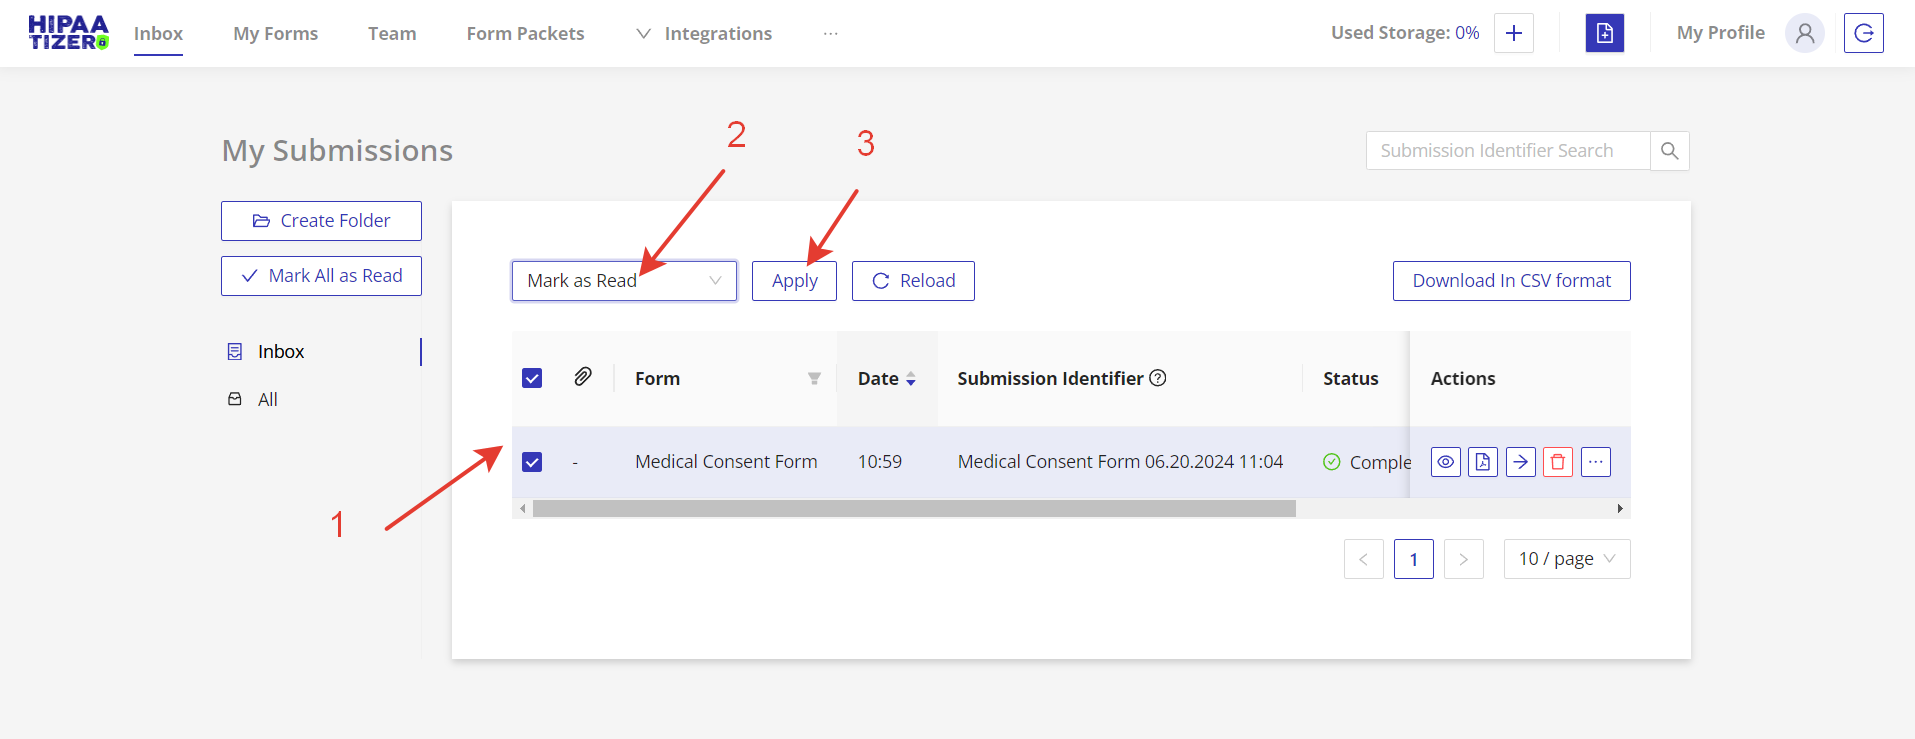
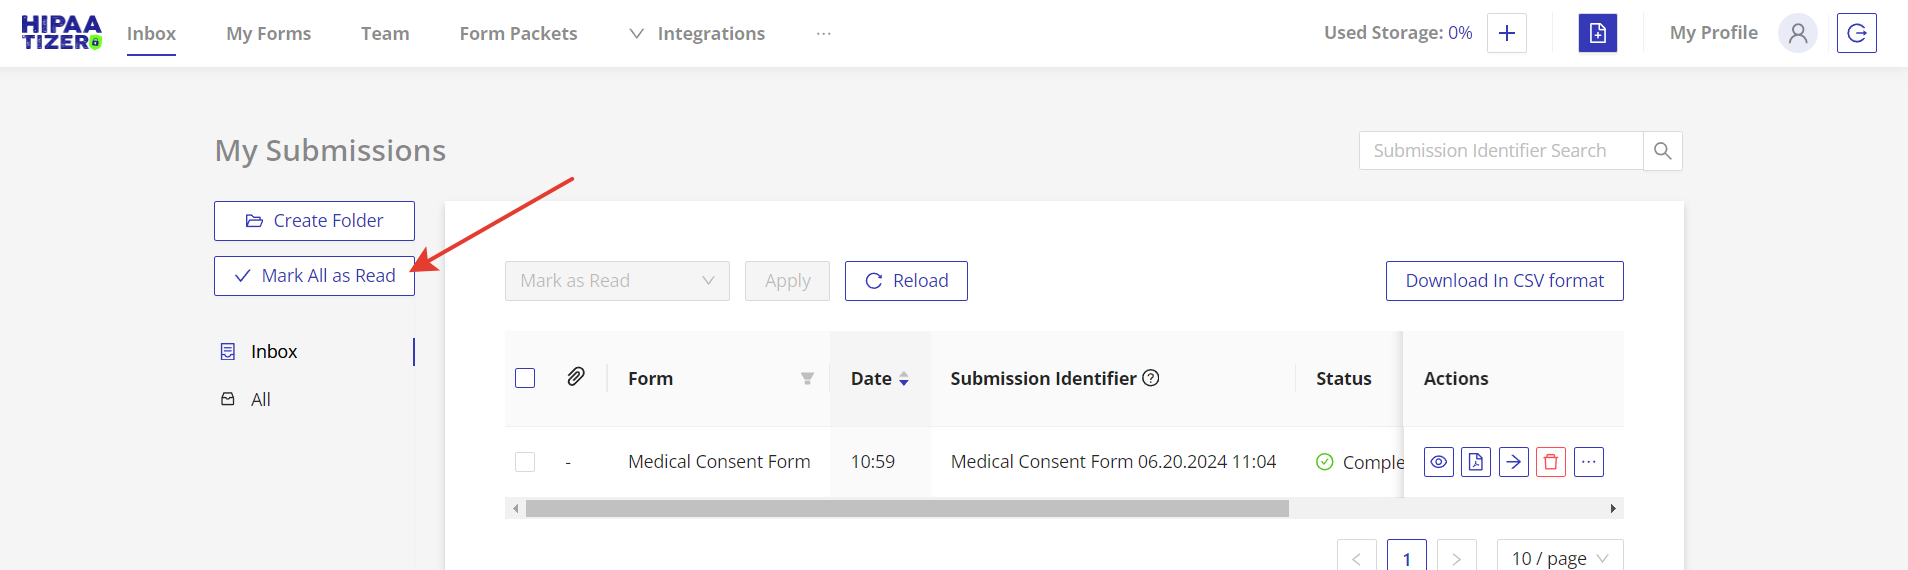
Check the submissions you want to mark as read, then click on the bulk action -> Mark as Read -> Apply. To mark all submissions as read, click on the "Mark all as Read" button on the left navigation.
Set up the Submission Identifier
Set up the submission identifier for form to easily search for certain submission. See our guide on How to Set Up a Submission Identifier.
Attachment Handling
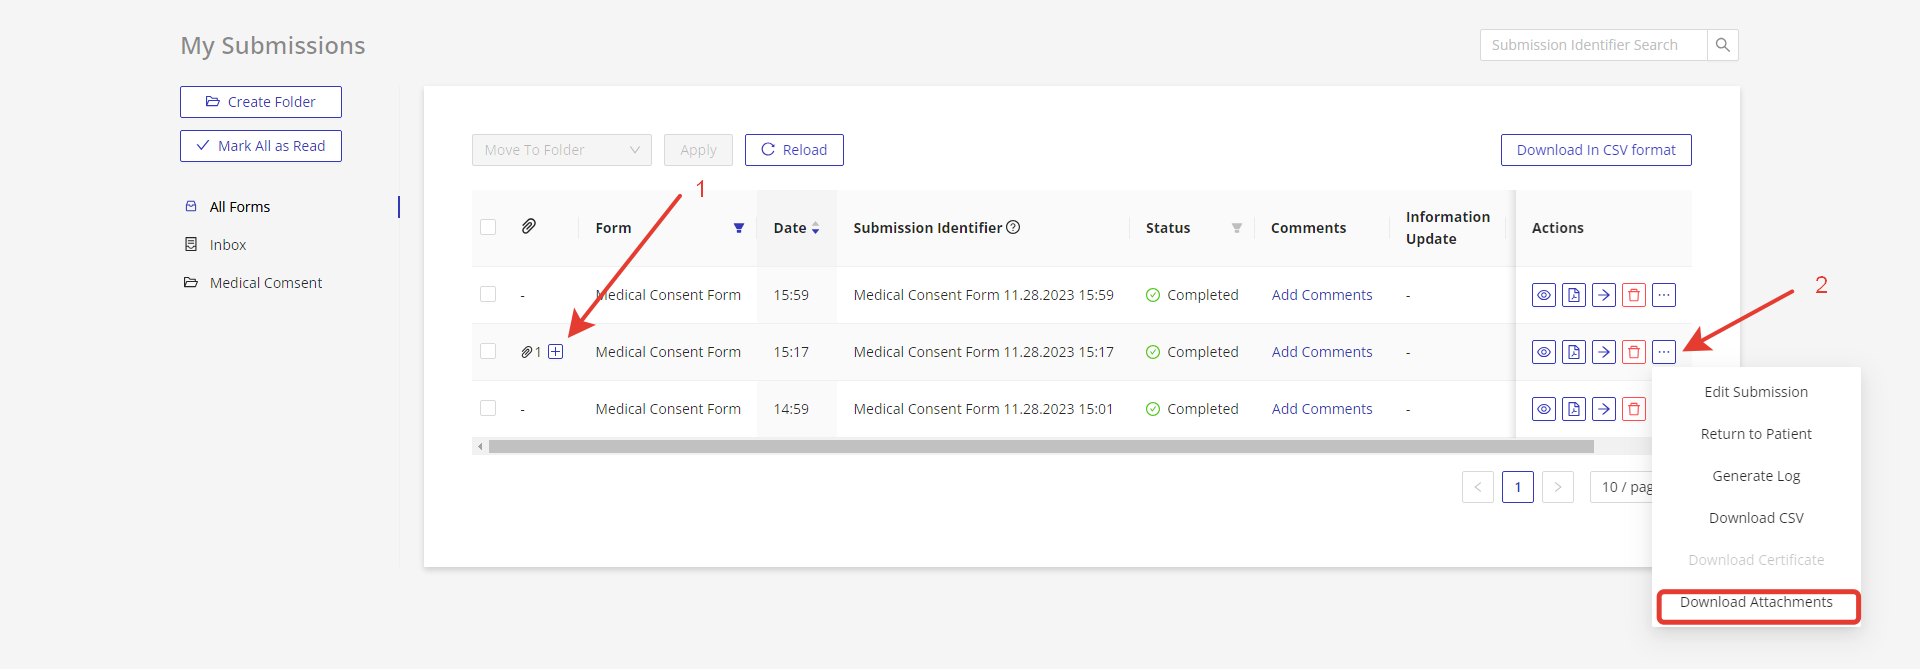
Click on the "Plus" icon on the "Attachments" column to display information about submission attachments (1). To download attachments, click on the "…" icon in the "Actions" column, then select "Download Attachments" option (2).
Filtering Options
Filter Submissions by Form
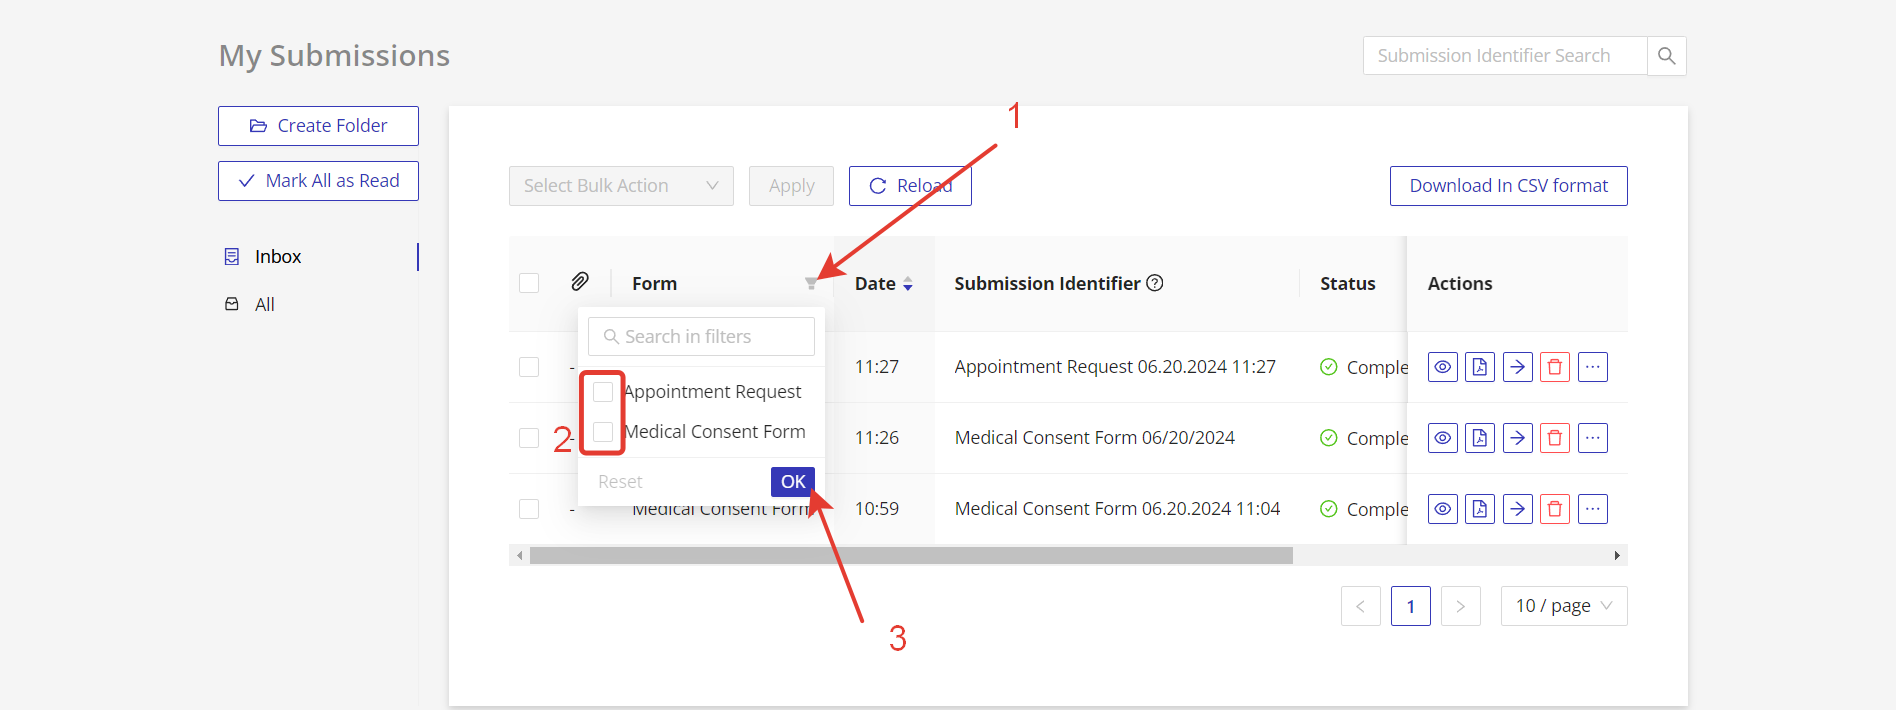
Click on the "Filter" icon next to the "Form" column and select form(s) whose submissions you want to display. Click on the "OK" button to save the filter settings.
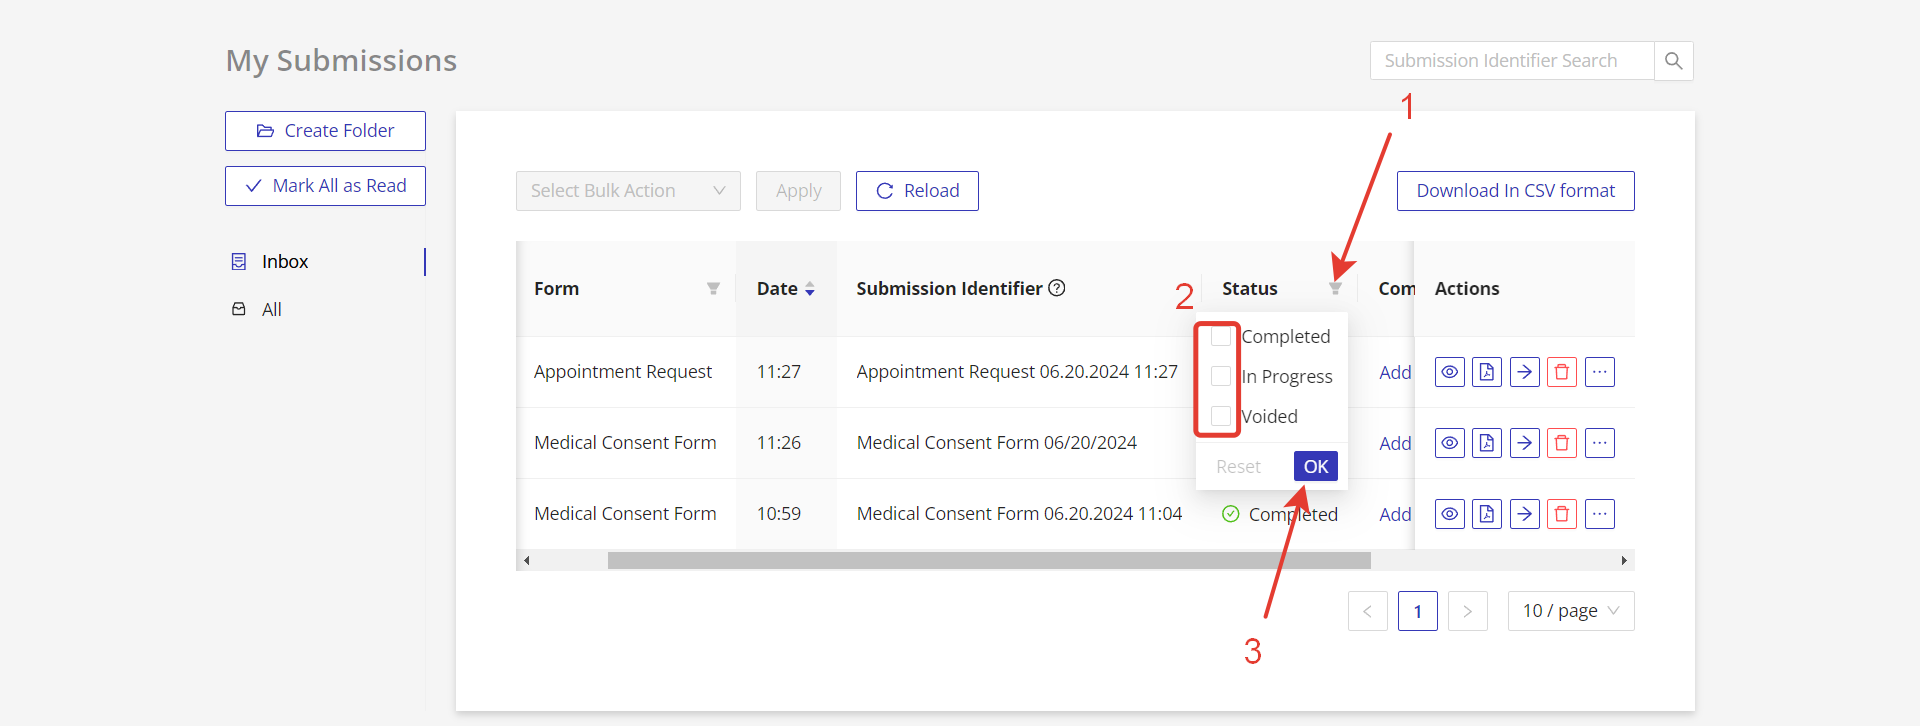
Filter Submissions by Status
Click on the "Filter" icon next to the "Status" column and select form status from the following: Completed, In-Progress, or Voided. Click on the "OK" button to save the filter settings.
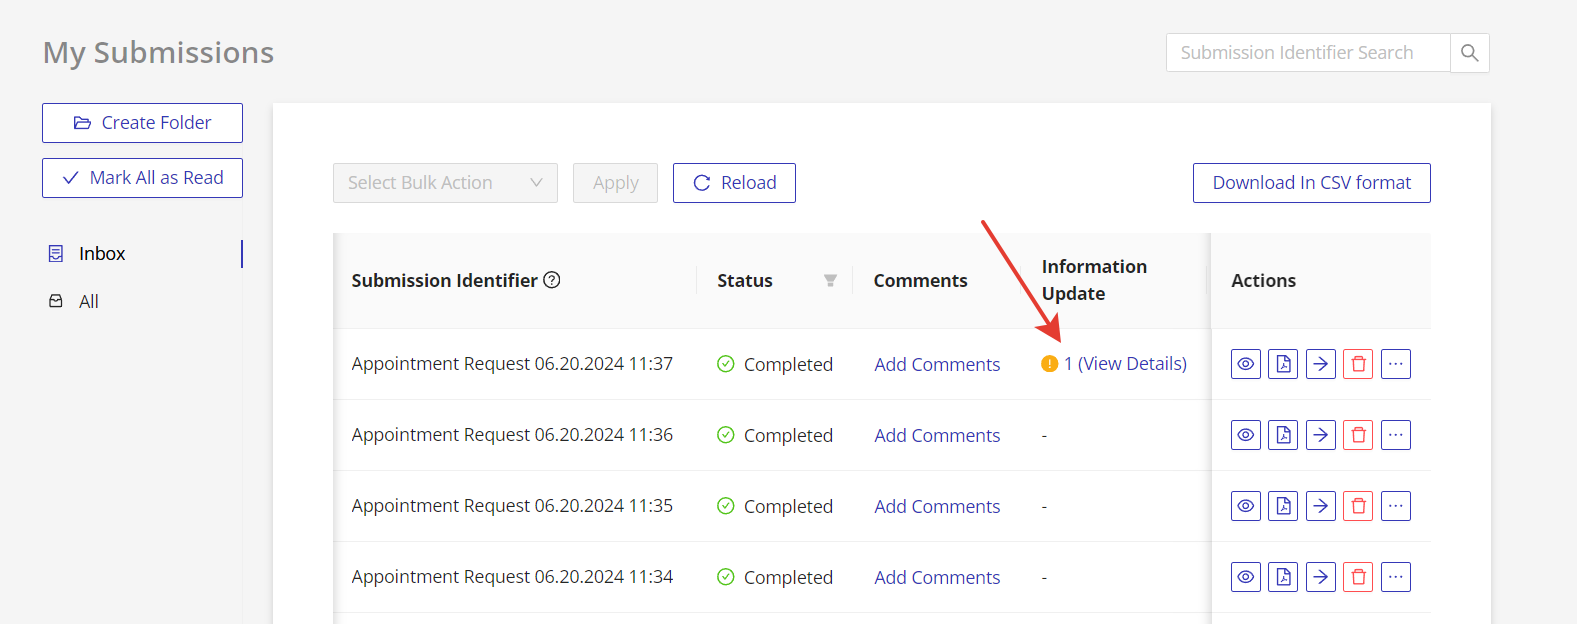
Information Management
Click on the changes link in the "Information Update" column to see information about changes.
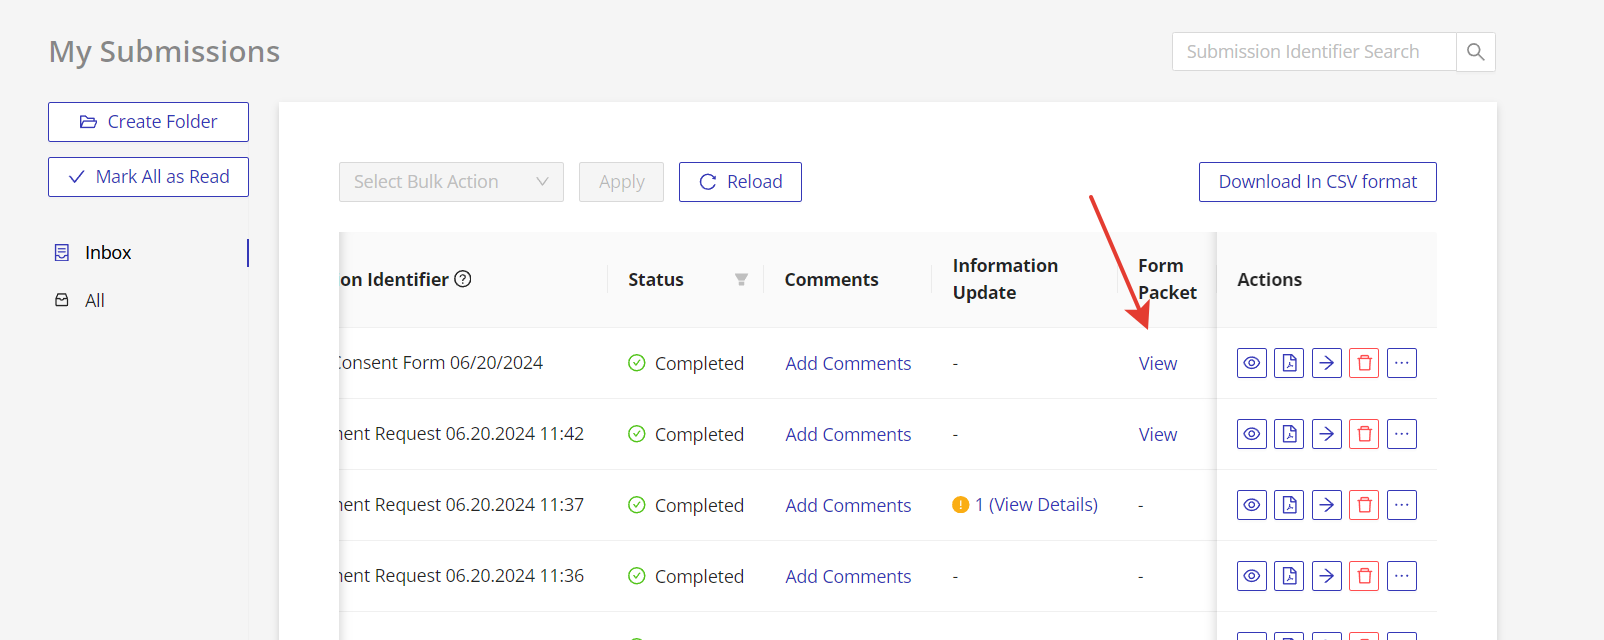
Form Packets Management
If your form is a part of a Form Packet, you can see the Form Packet progress information by clicking on the "View" link in the "Form Packet" column.
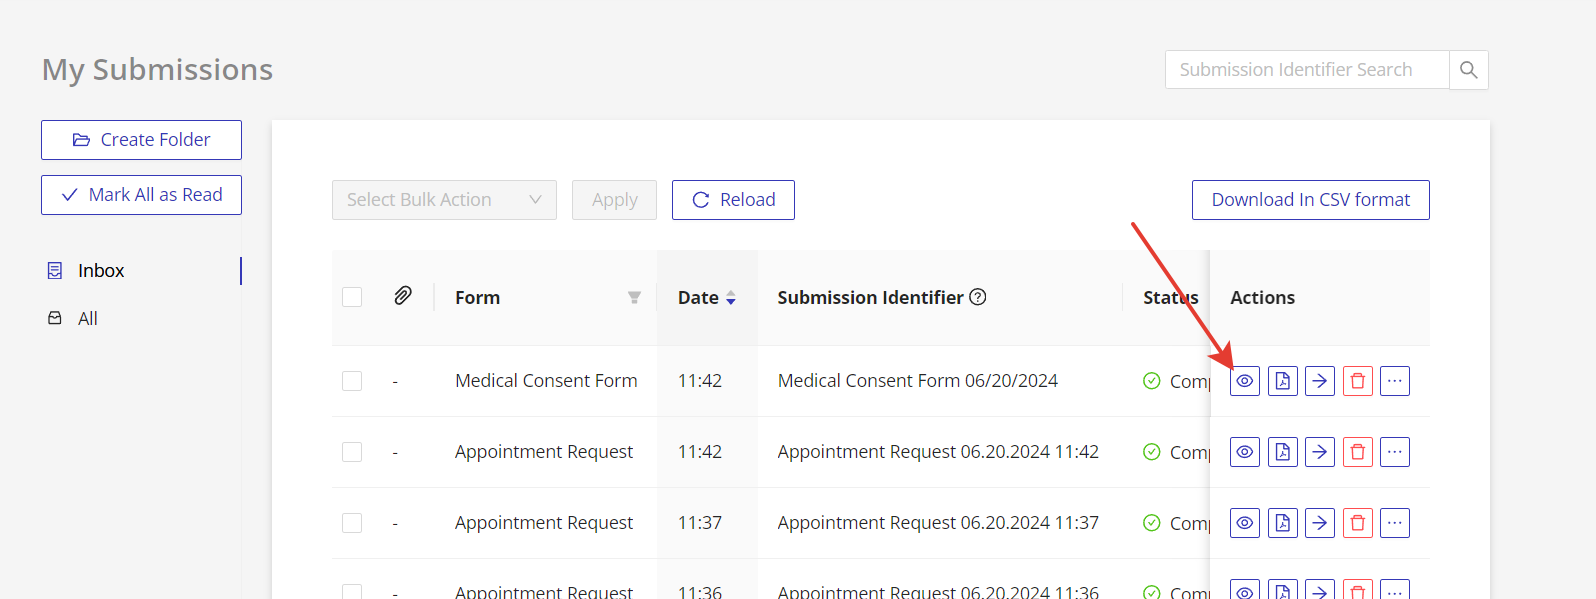
Viewing and Downloading Options
View Submission in Web View
Click on the "View" icon in the "Actions" column to see the web version of the submission.
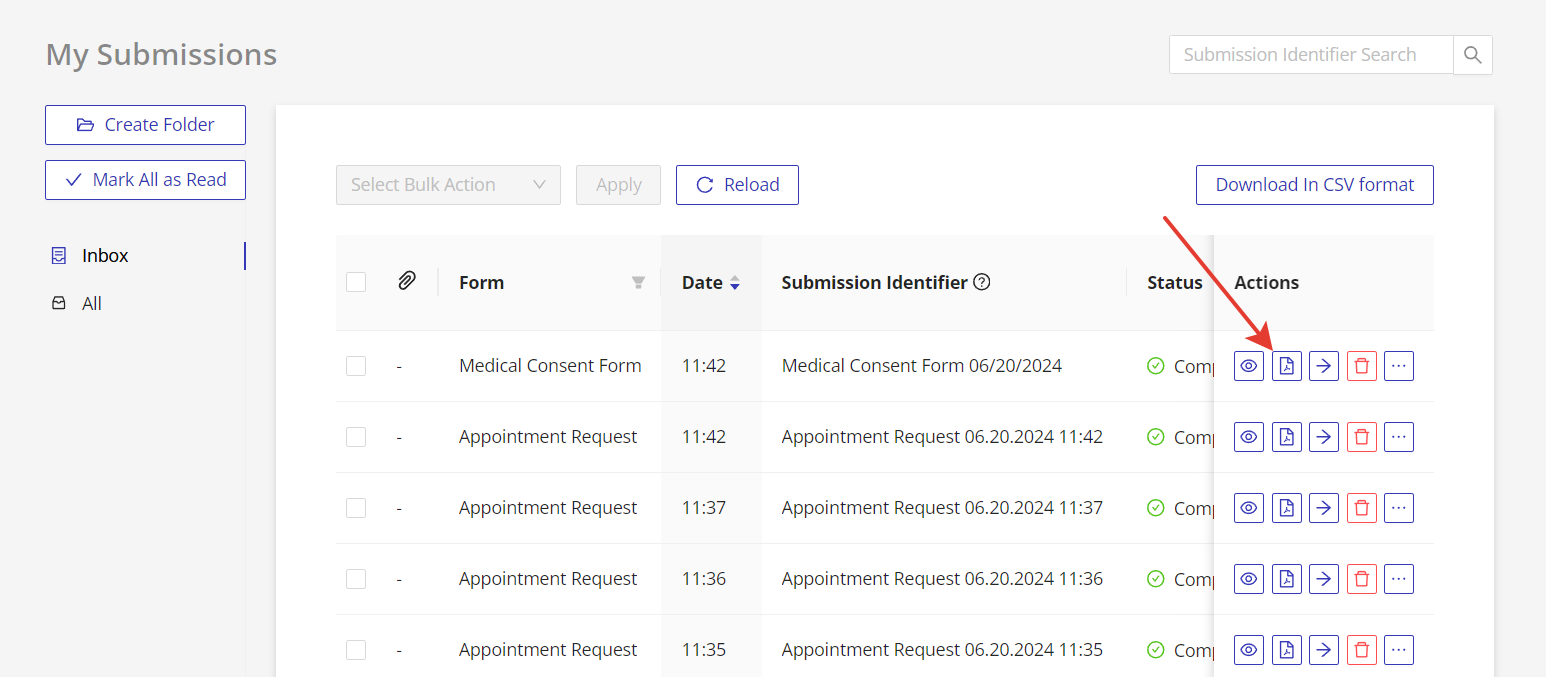
View a Printable Version of the Submission
Click on the "Download PDF" icon in the "Actions" column to download a printable form submission.
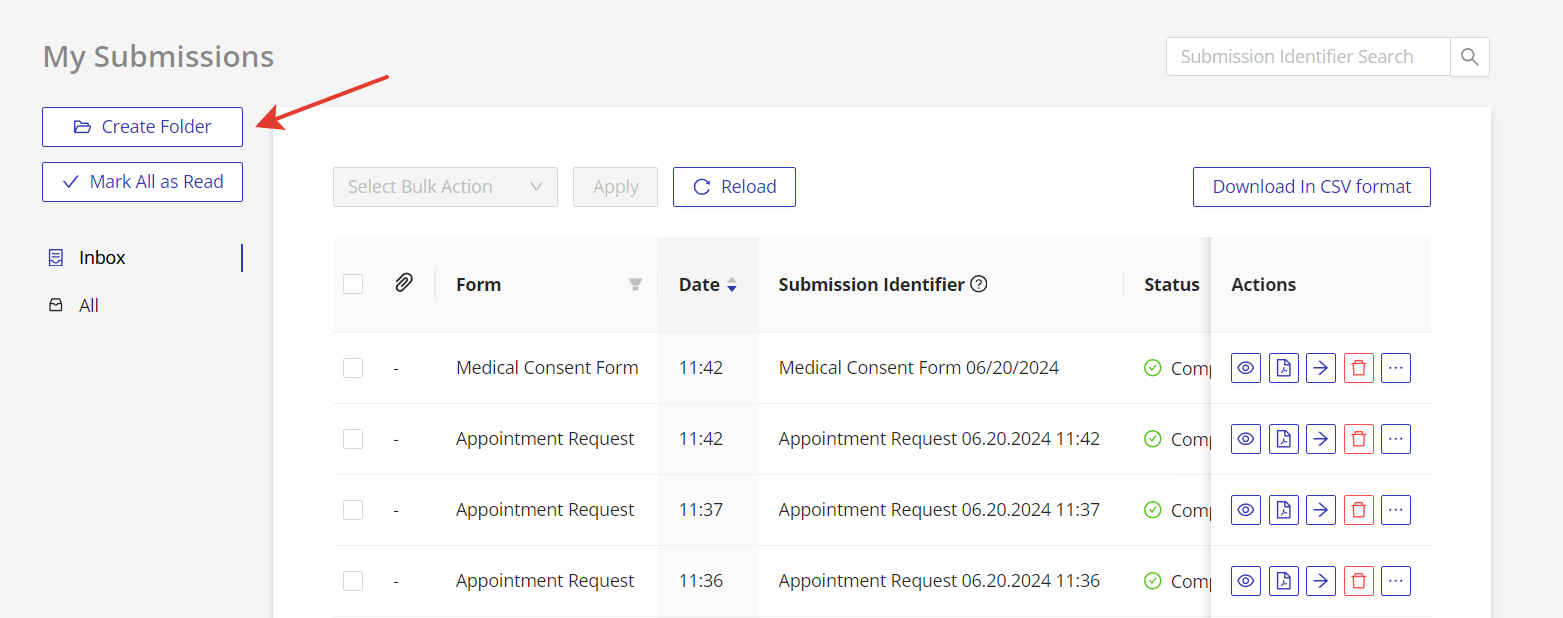
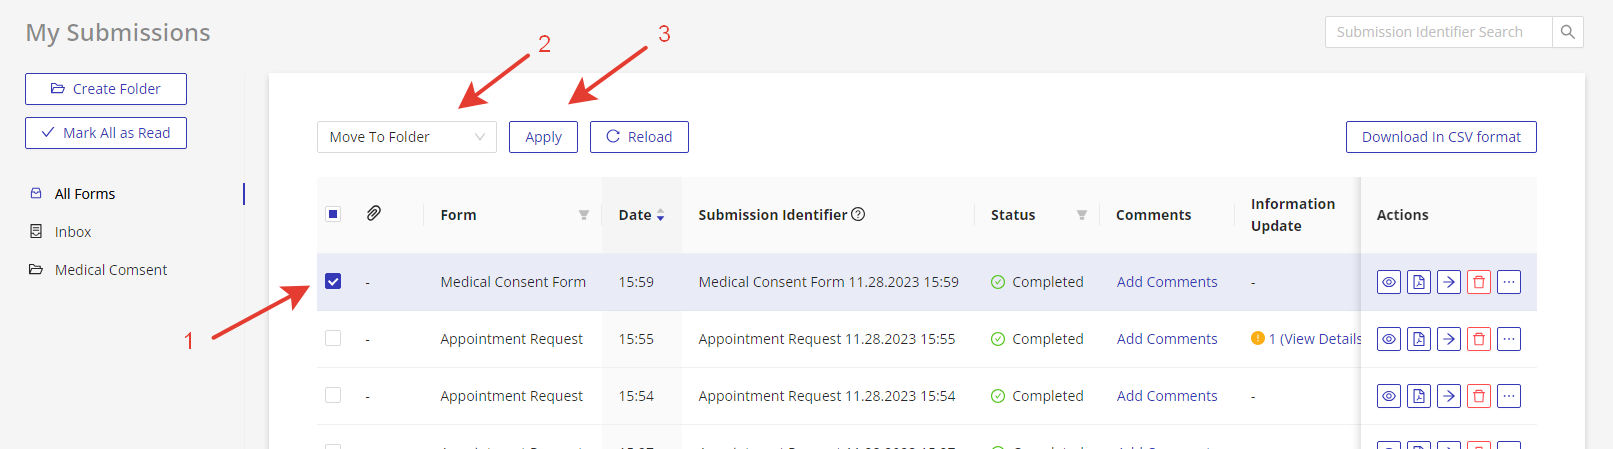
Group Submissions by Folder
Click on the "Create Folder" button on the left navigation to create folders. To move submissions to any folder, click on the "Move to Folder" icon in the "Actions" column, then select the appropriate folder, or select several forms by checking them with checkboxes, then click on the bulk action -> Move to Folder -> Apply.
Other Actions
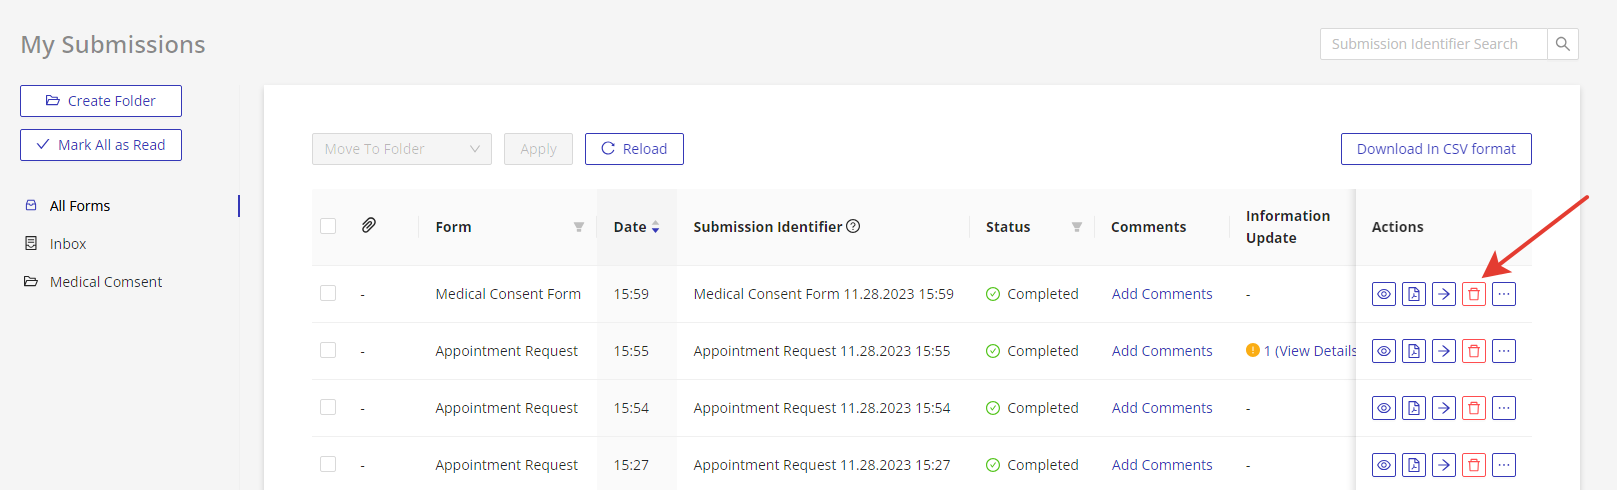
Delete Submissions
To delete submissions, click on the "Delete" icon in the "Actions" column.
Edit Submissions
To edit any information in the submission, click on the "…" icon in the "Actions" column, then select "Edit Submission" option.

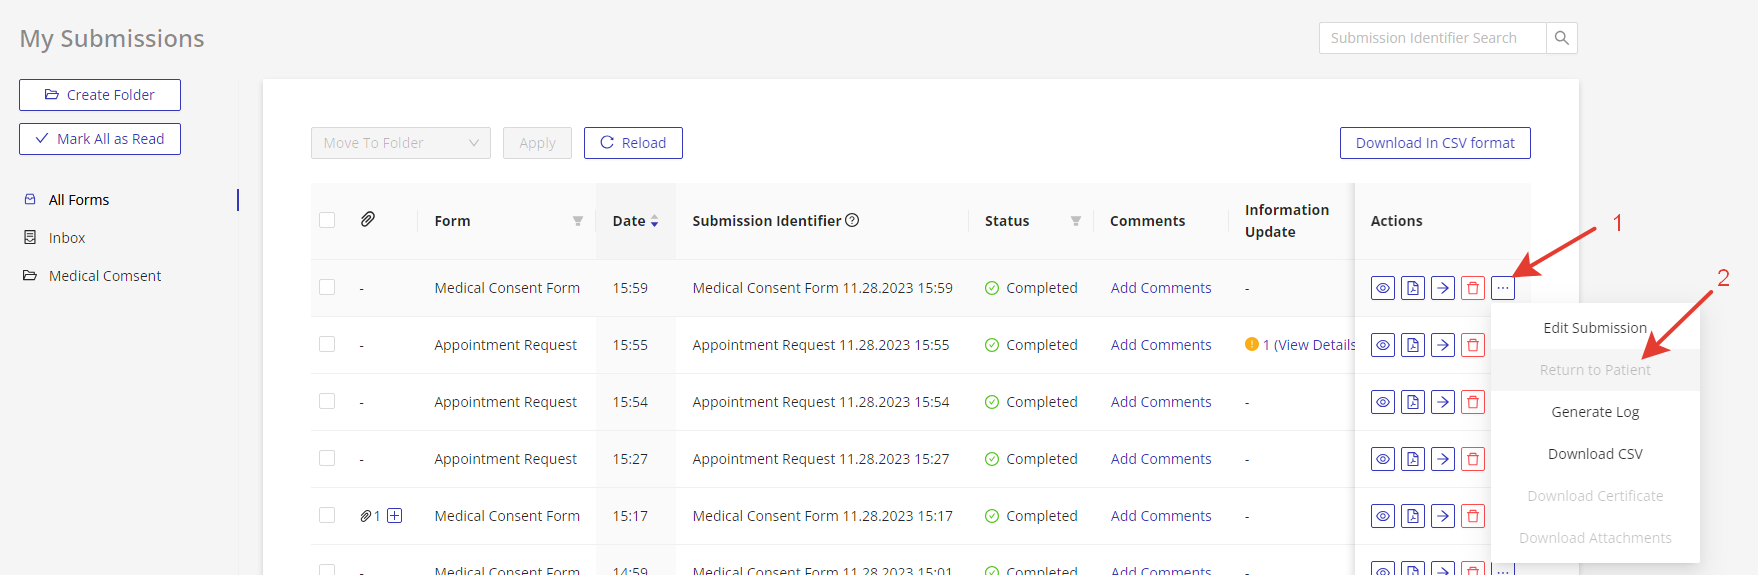
Return the Submission to Patient
If you want to send back the submission to your patients for additional information filling, click on the "…" icon in the "Actions" column, then select "Return to Patient" option.
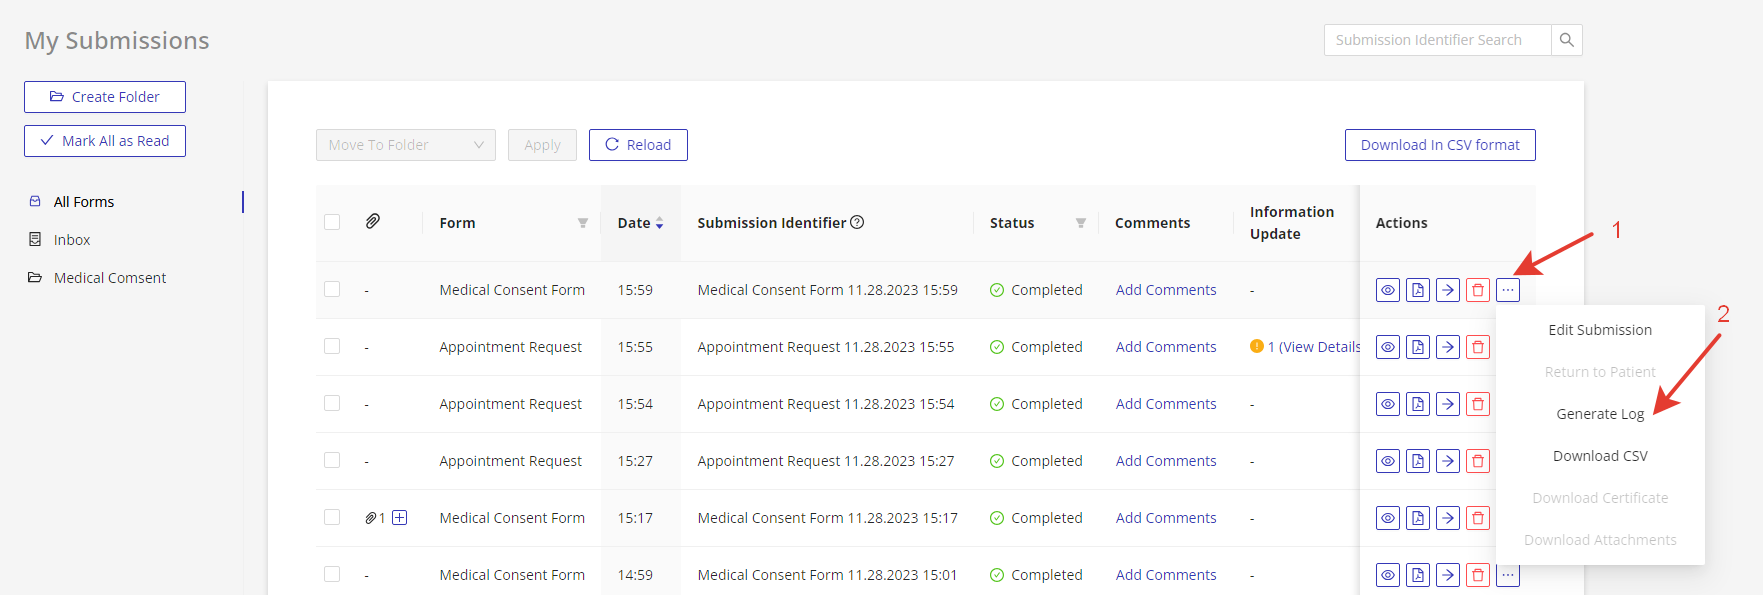
Generate Log
If your practice has several HIPAAtizer accounts with Assistant, Security Officer roles, you can generate a log with information about who accessed this submission. To do so, click on the "…" icon in the "Actions" column, then select "Generate Log" option.
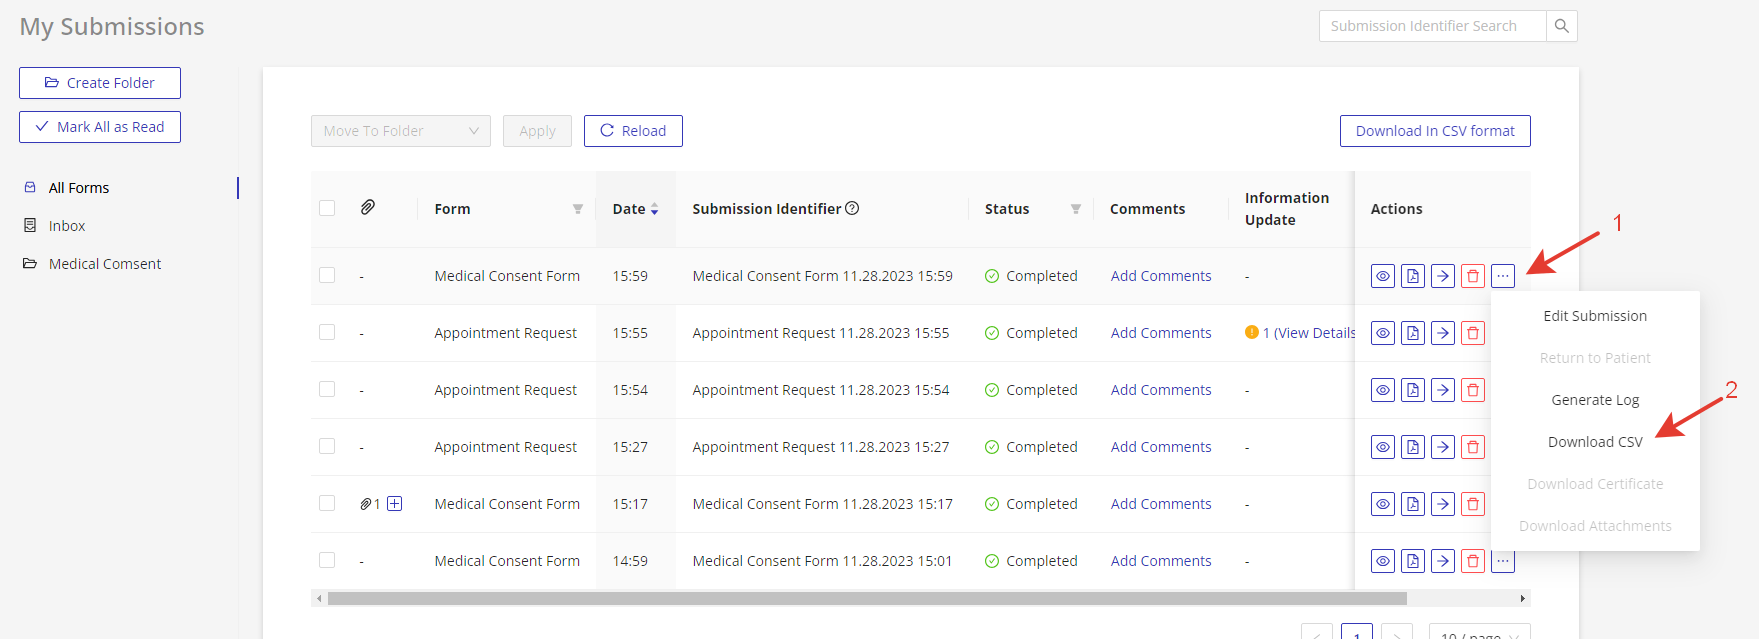
Download Submission in CSV Format
If you need the information from the submission in CSV format, you can download the submission in this format by clicking on the "…" icon in the "Actions" column -> "Download in CSV", or you can download several submissions by clicking on the "Download in CSV format" button on the top of the page (you can filter the submissions first).

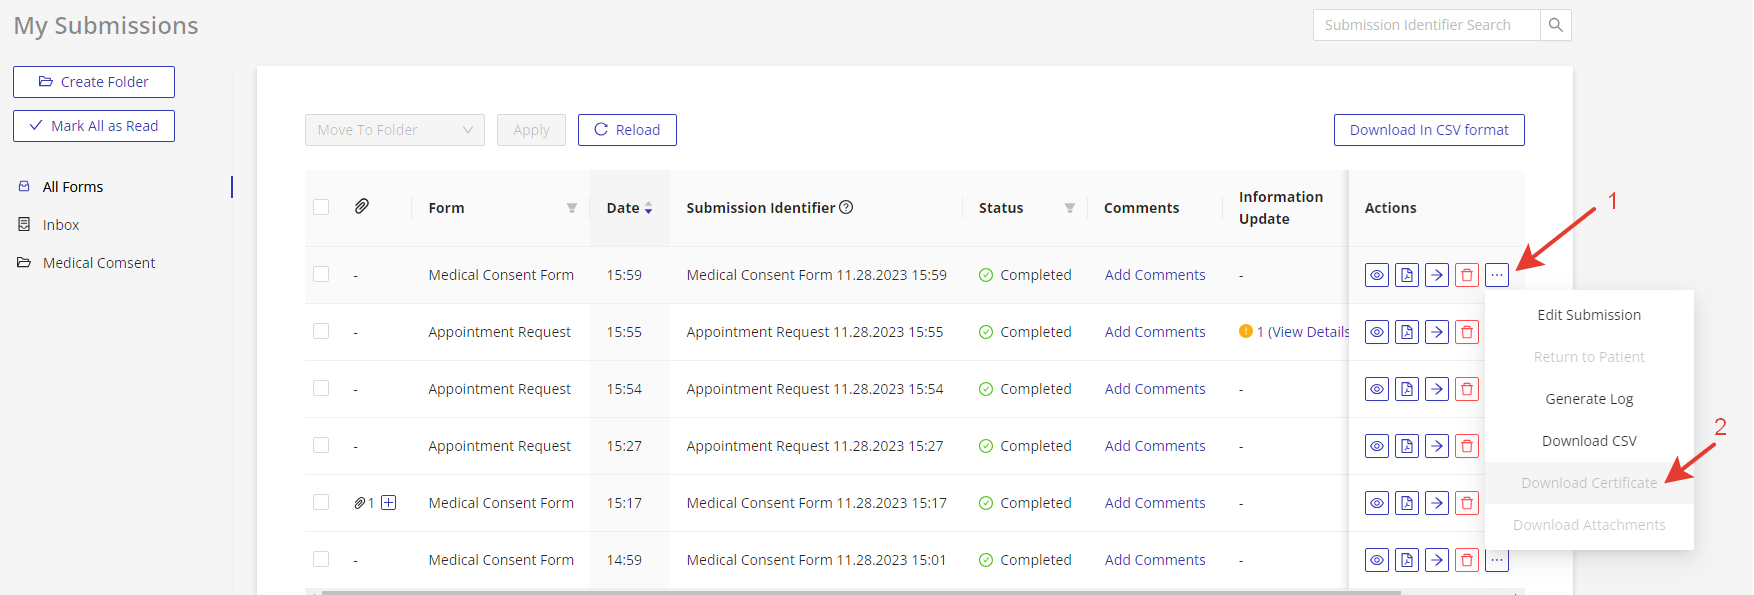
Download Certificate
If you use HIPAAsign service and receive HIPAAsign form submissions, you can download the eSignature certificate for the submission you need. To do so, click on the "…" icon in the "Actions" column, then select "Download Certificate" option.
Manage Comments
To add comment to submission click on the "Add Comments" link on the "Comments" column.

Submissions Dashboard
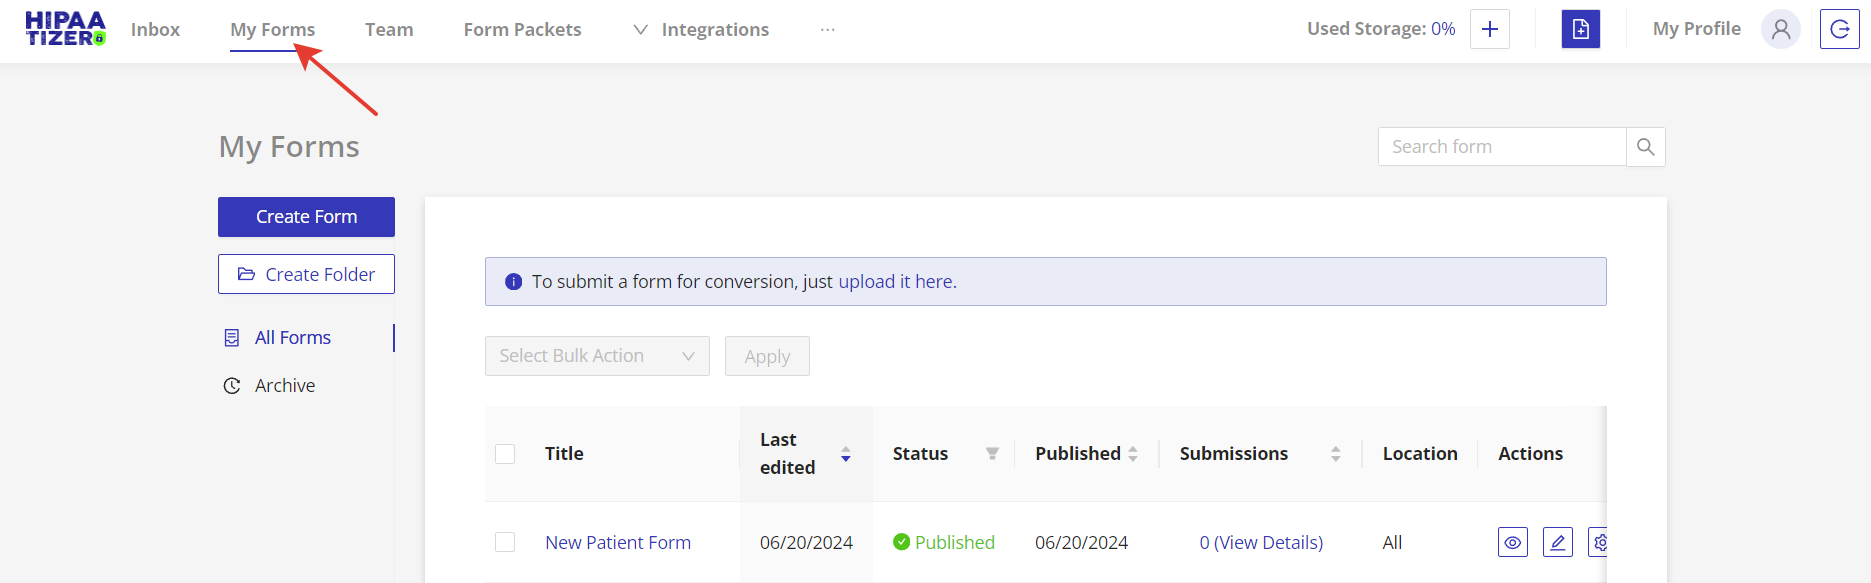
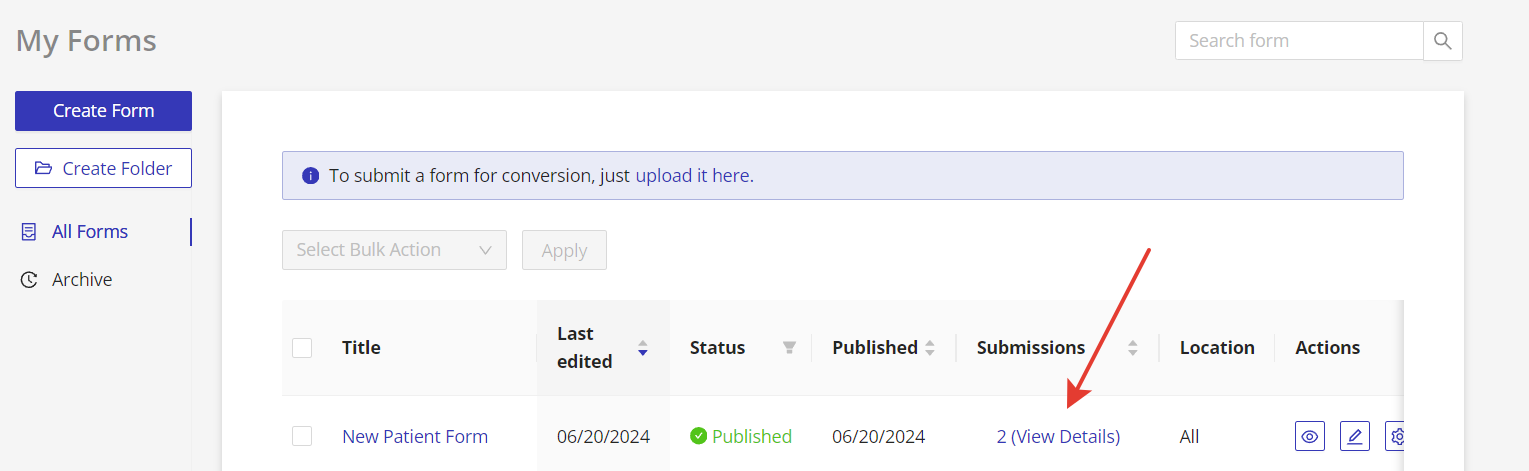
Accessing Submissions in the Dashboard
Go to "My Forms" and locate the desired form. Go to the "Submissions" tab by clicking #(View Details).
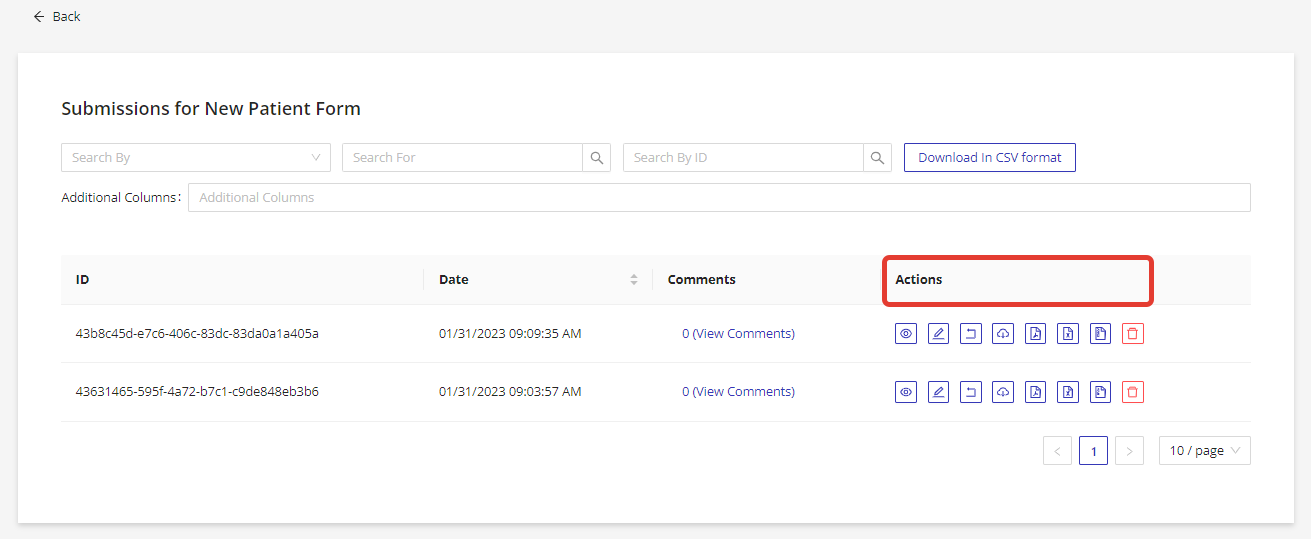
Actions Column
Use the buttons in the Actions column to:
- View the details of the submissions as a web form
- Download the submission in PDF format, where you can also upload your own printable template in the form settings
- Download the form submission in CSV format
- Download attachments
- Generate and download a PHI access log
Filtering Submissions
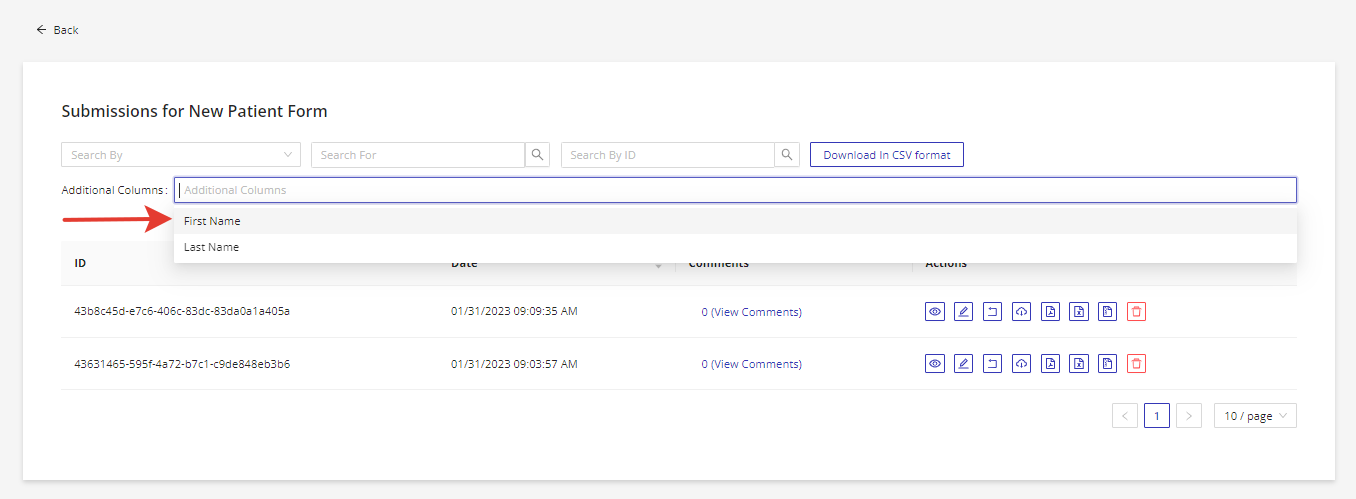
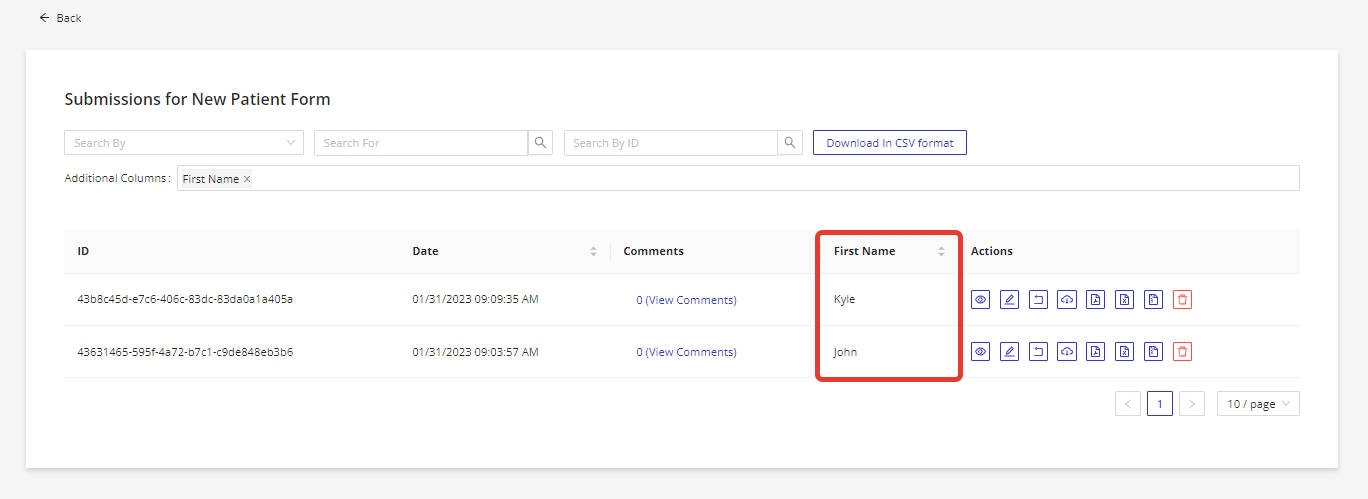
Use the "Additional Columns" dropdown to add required form fields to the submissions table, such as a First Name field, to easily see who submitted the form.
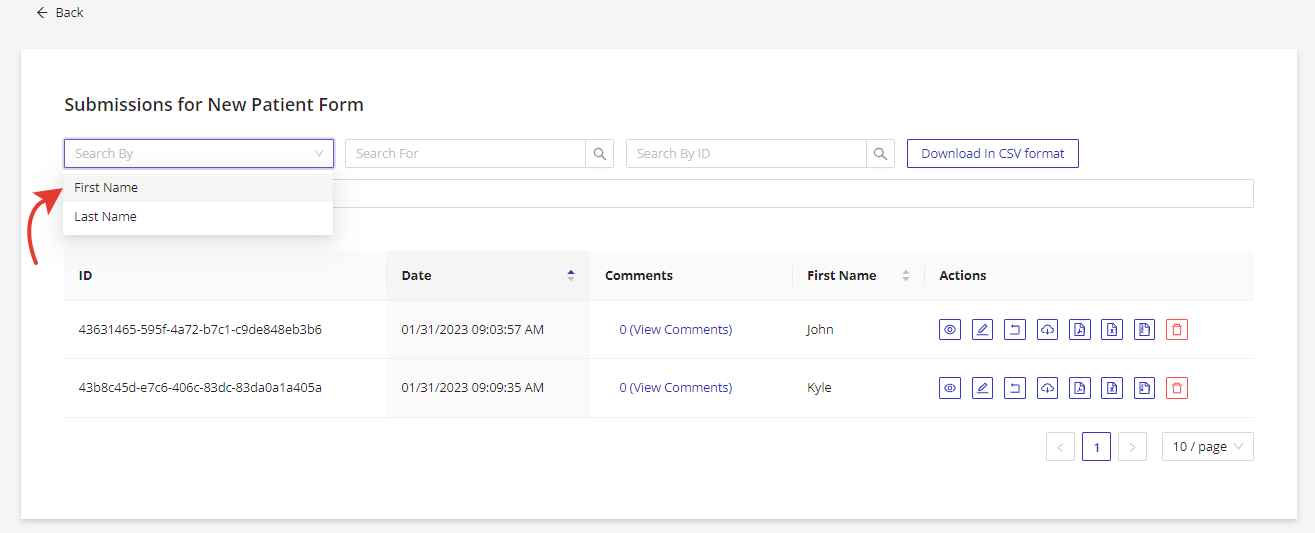
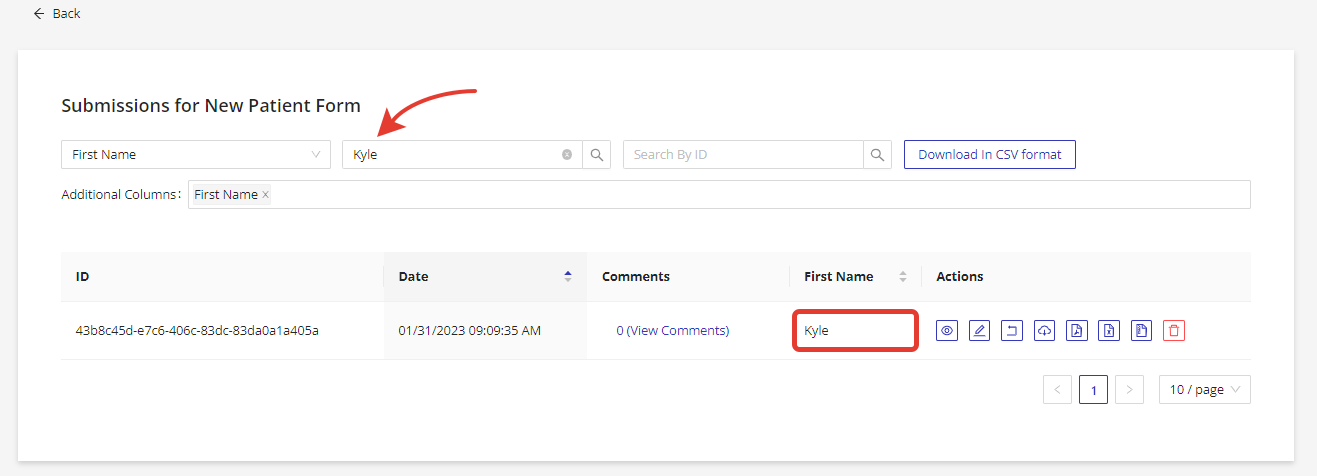
Search submissions using filters at the top of the page by selecting the form field in the "Search By" input and the data you are looking for in the "Search For" field.