Submission Identifier
Managing your HIPAAtizer Inbox and Submissions Dashboard: Adding Additional Information And/Or Columns and hints on Sorting and Searching for Submissions
In HIPAAtizer, you can see submissions in two locations. The first is a centralized Inbox where all the submissions can be viewed. The second is in the Submissions Dashboard for each individual form.
Changing settings on what information may or may not be displayed in the Inbox or the Submissions Dashboard can only be made by the account owner (the registered Covered Entity) and the Security Officers, not by team members with "Assistant" credentials.
Inbox Page
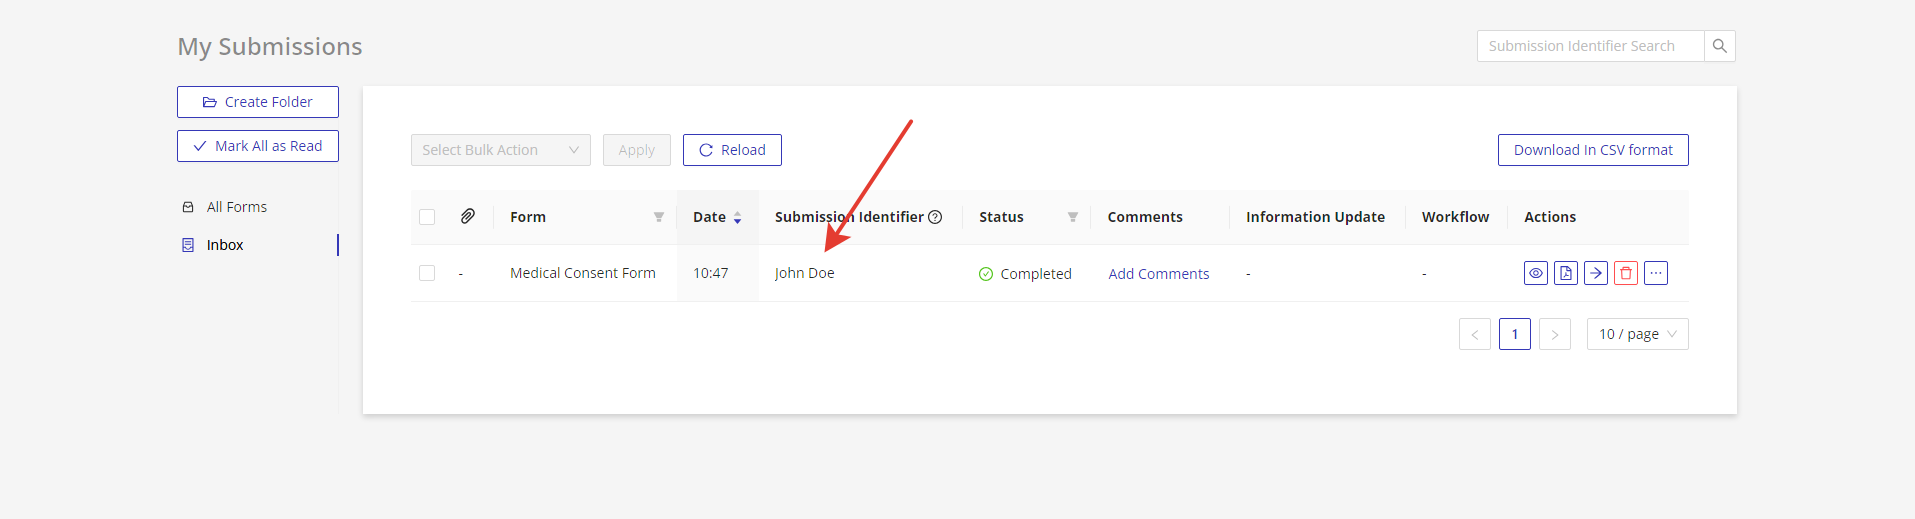
On the Inbox page, you can manage submissions using the Submission Identifier. This feature enables you to retrieve, sort, and filter submissions in your Inbox. By default, it includes the form name and submission date and time.
Accessing Submission Identifiers
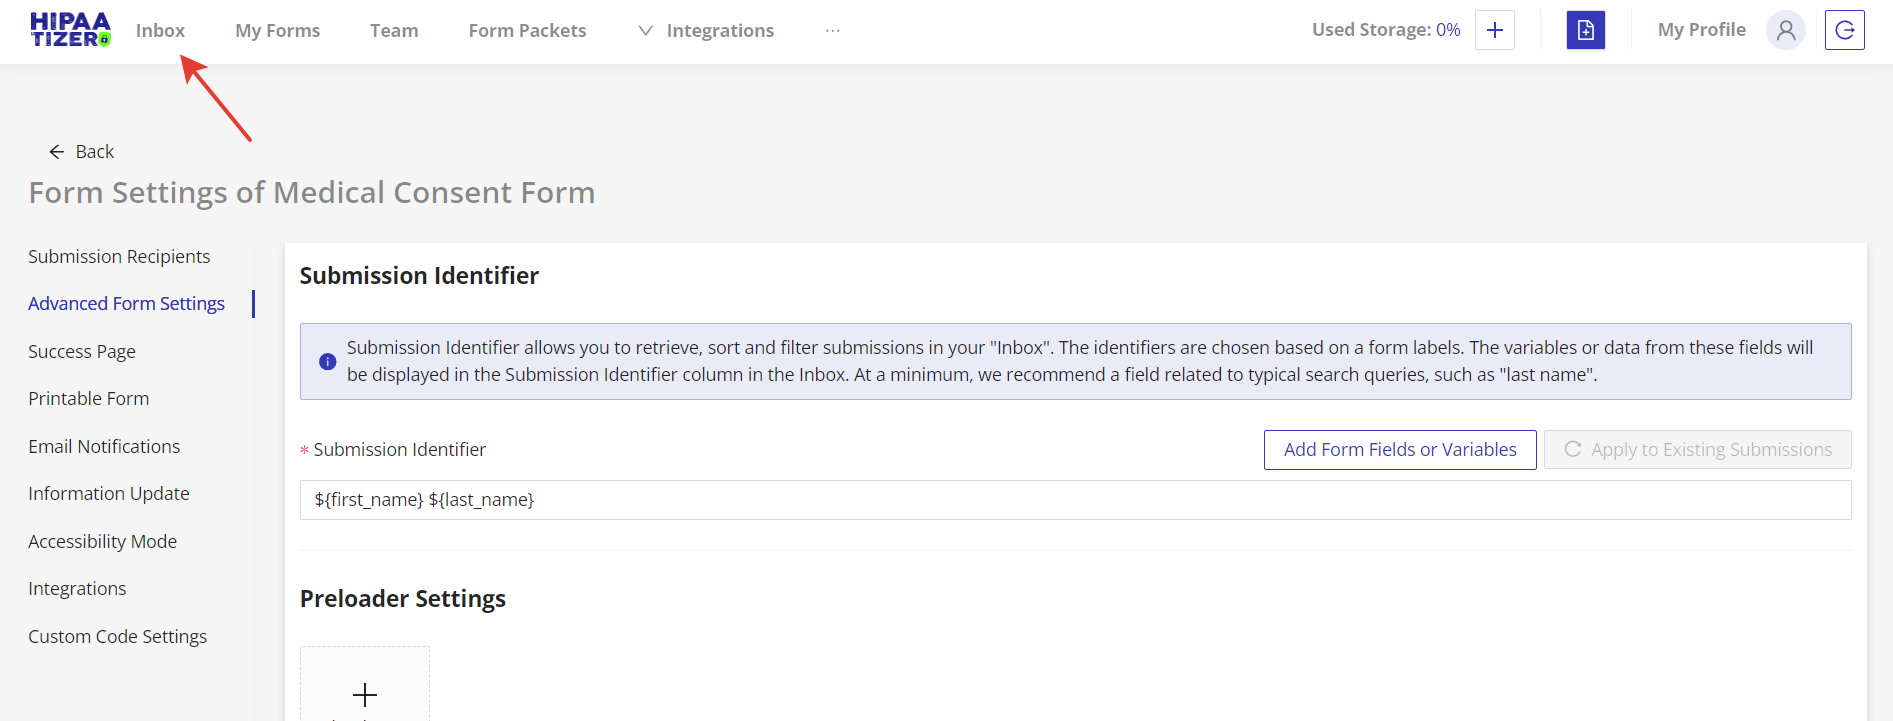
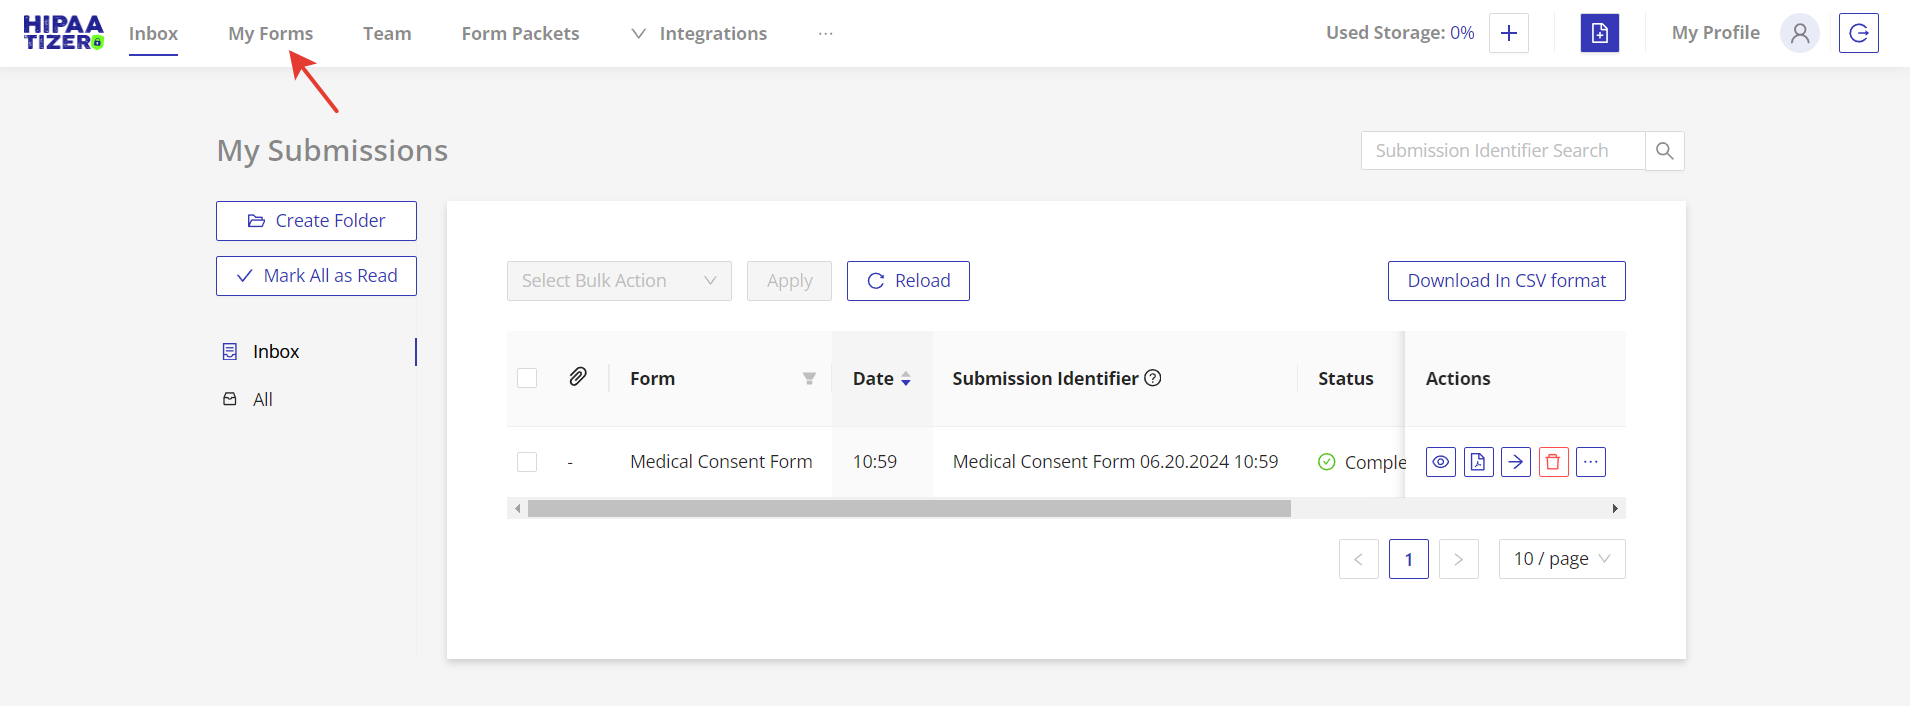
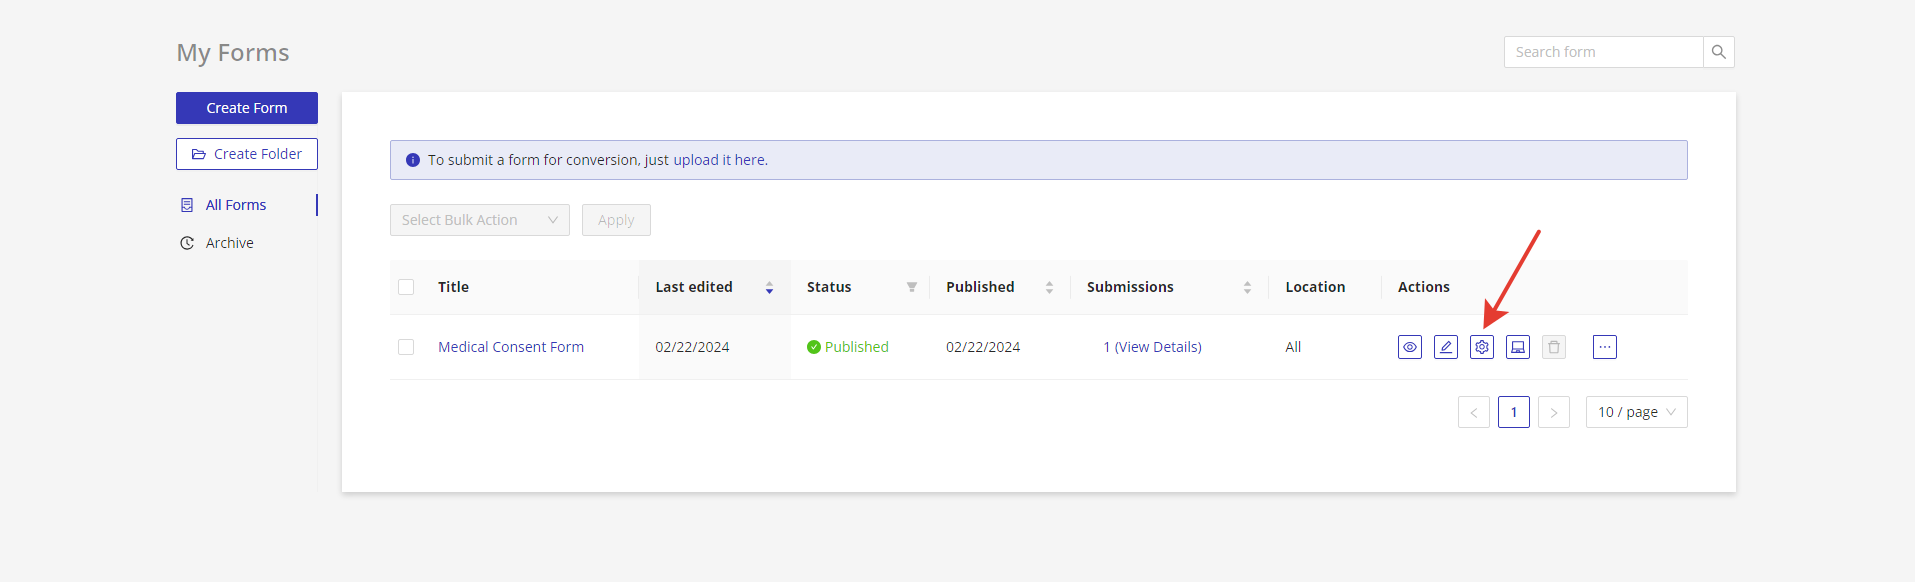
Go to the My Forms page. Choose the form whose "Submission Identifiers" you want to change and click on the "Form Settings" icon. Go to the "Advanced Form Settings" tab -> Submission Identifier.

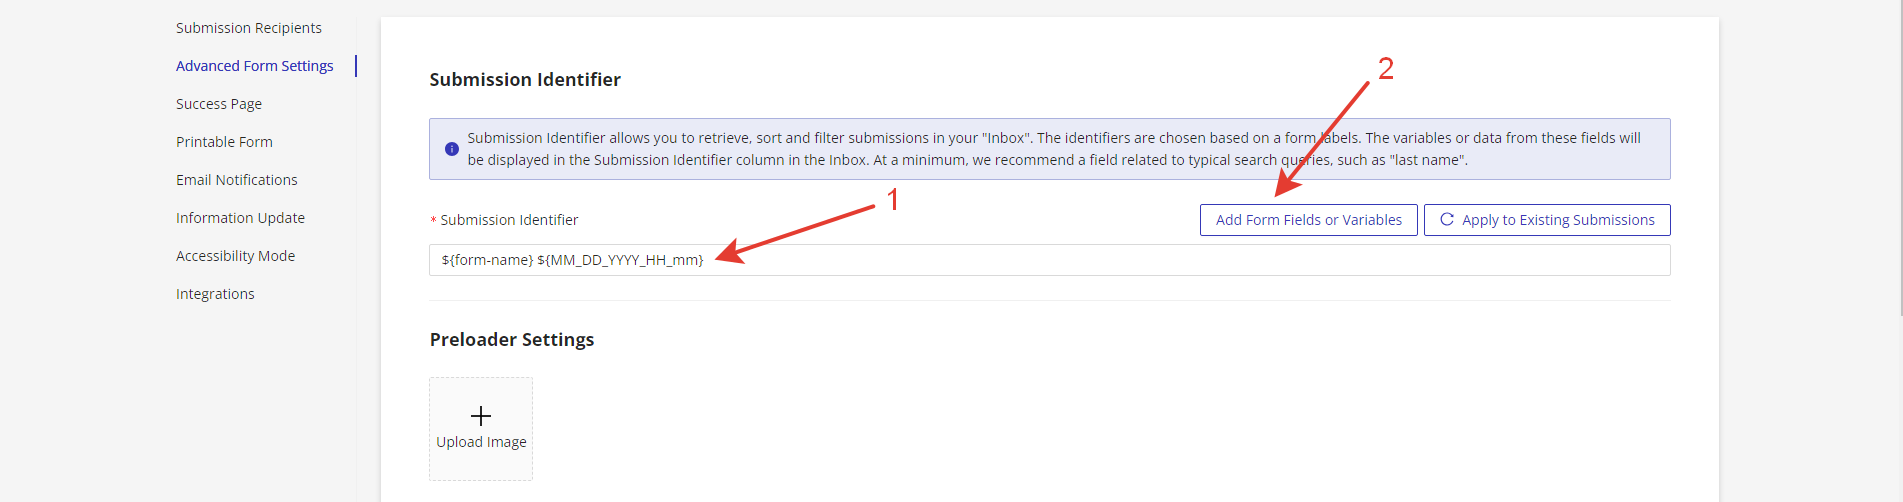
Setting Up Submission Identifiers
- Input the information from the form you want to display, or (2) click on the "Add Form Fields or Variables" button to select form fields or variables similar to typical search queries, such as "last name", "date of birth", etc.
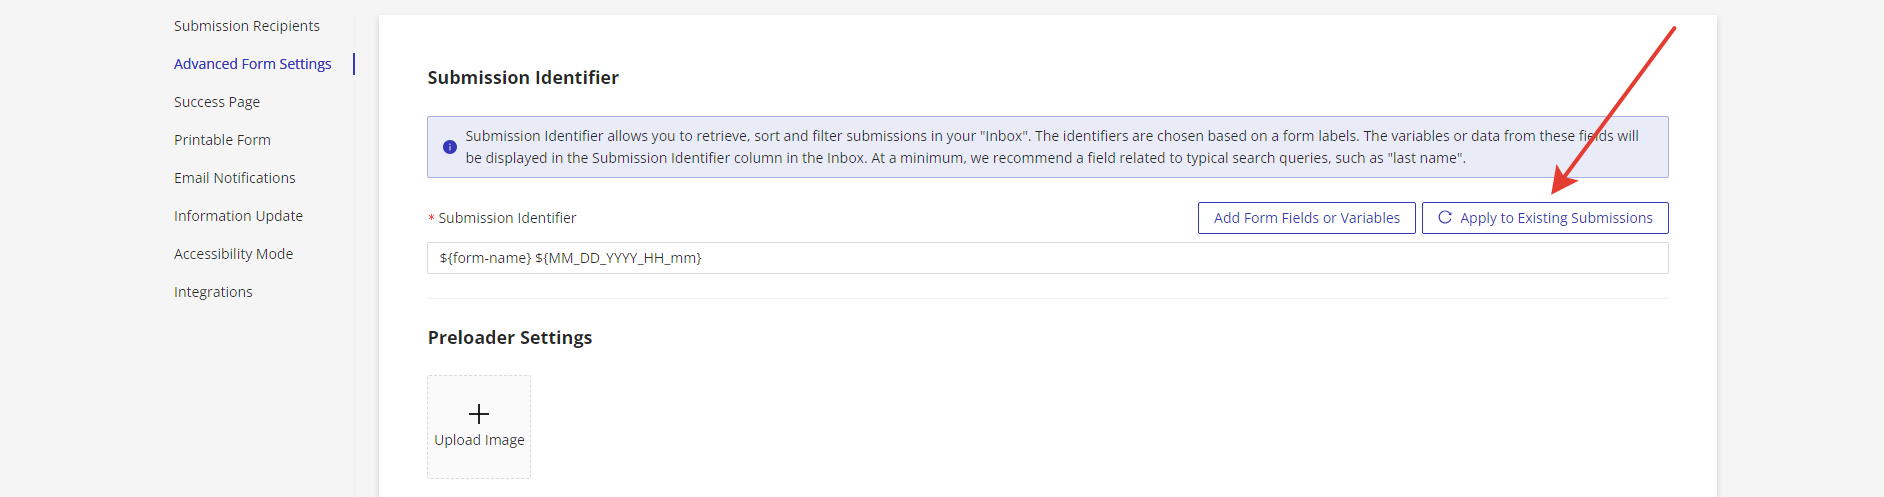
- If a form already has submissions, you can add or delete submission identifiers for the existing submissions by clicking on the "Apply to Existing Submissions" button. Please note: this feature is available only once every 24 hours.
- Click on the "Save" button in the bottom of the page to save your changes. Go to the Inbox page. See the updated submission identifier information in the "Submission Identifier" column.