Internal Use Only Fields
The Internal Use Only feature allows you to add fields to your forms that are hidden from patients or external users but remain available for your internal team to complete after a submission is received.
Creating Internal Use Only Fields
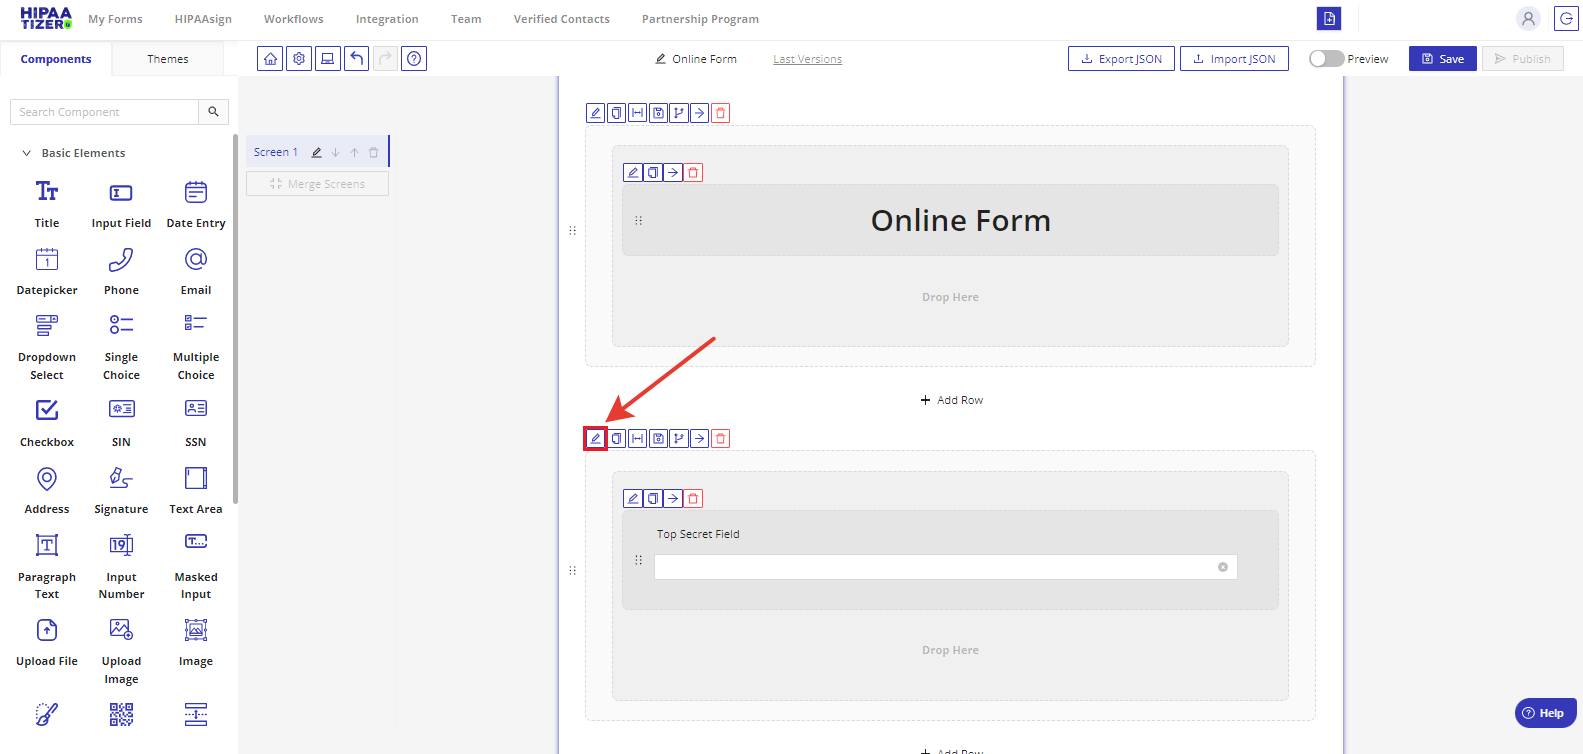
- In the Form Builder, click the Edit button on the row you want to make internal.
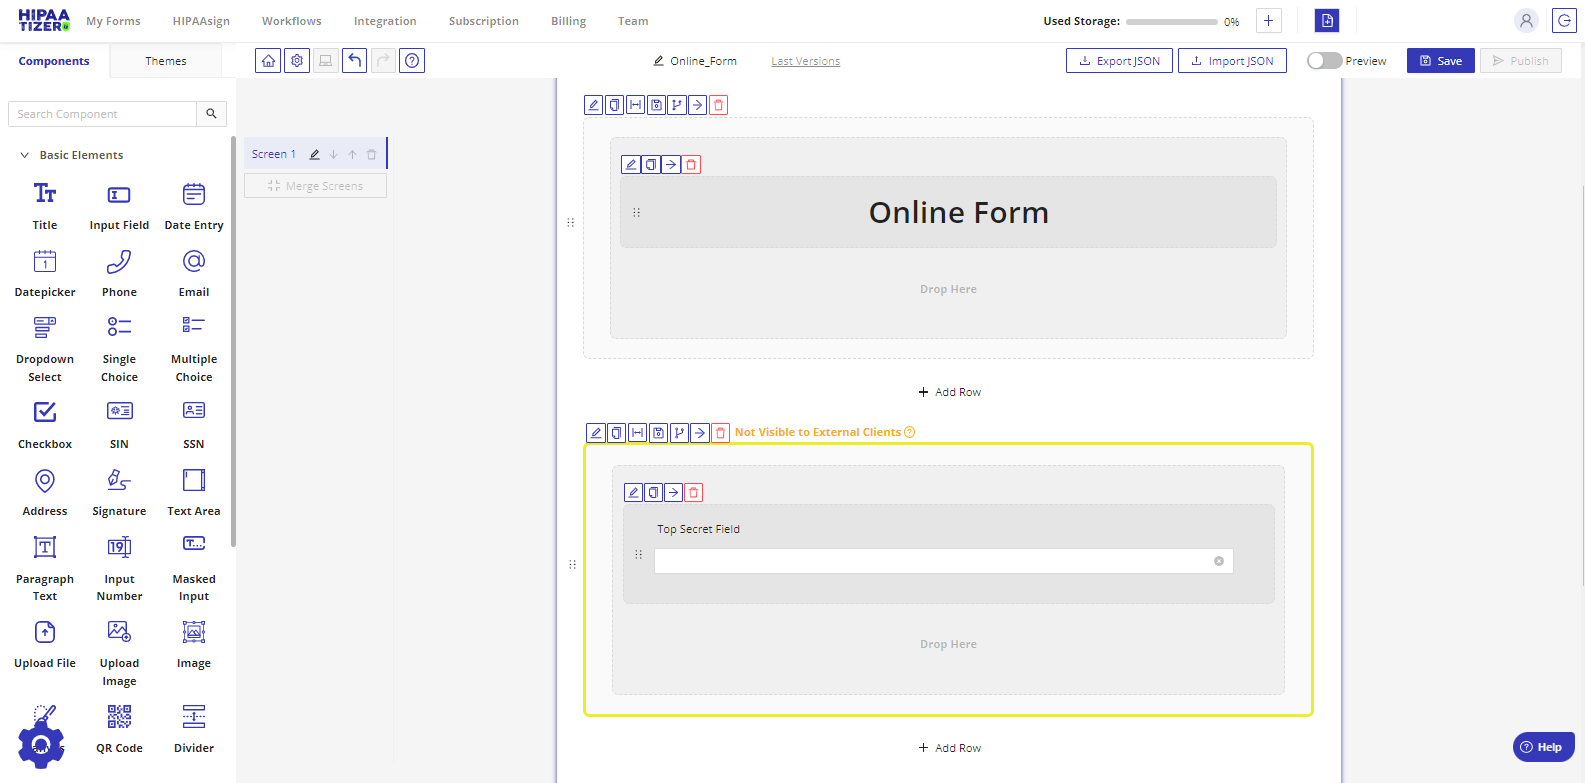
- In the Settings panel, check the option Not Visible to External Clients, then click Submit.
- The row will now display with a yellow border, indicating that it is visible only to internal users.

Filling In Internal Fields After Submission
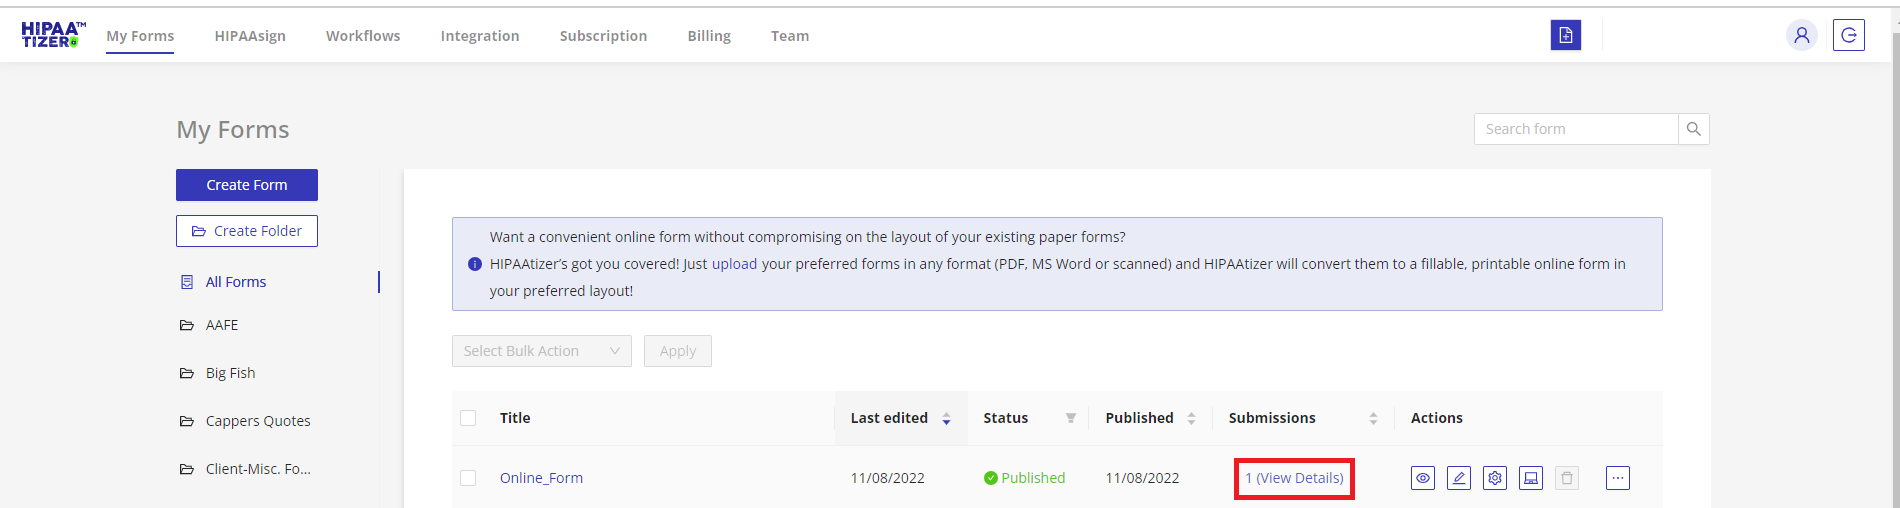
- Go to the My Forms dashboard.
- Locate the form submission and click # (View Details) in the Submissions column.
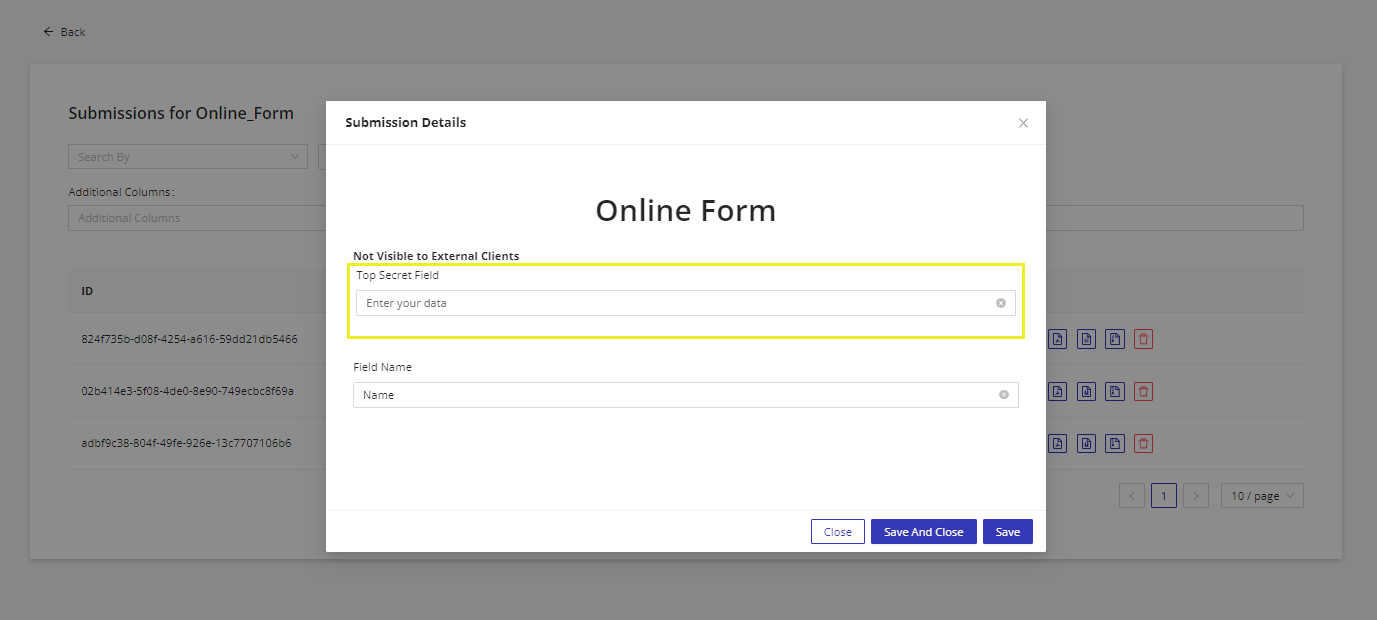
- On the Submissions dashboard, click Edit Submission.
- Enter the necessary data in the yellow-bordered fields (internal only).
- Click Save and Close when finished.
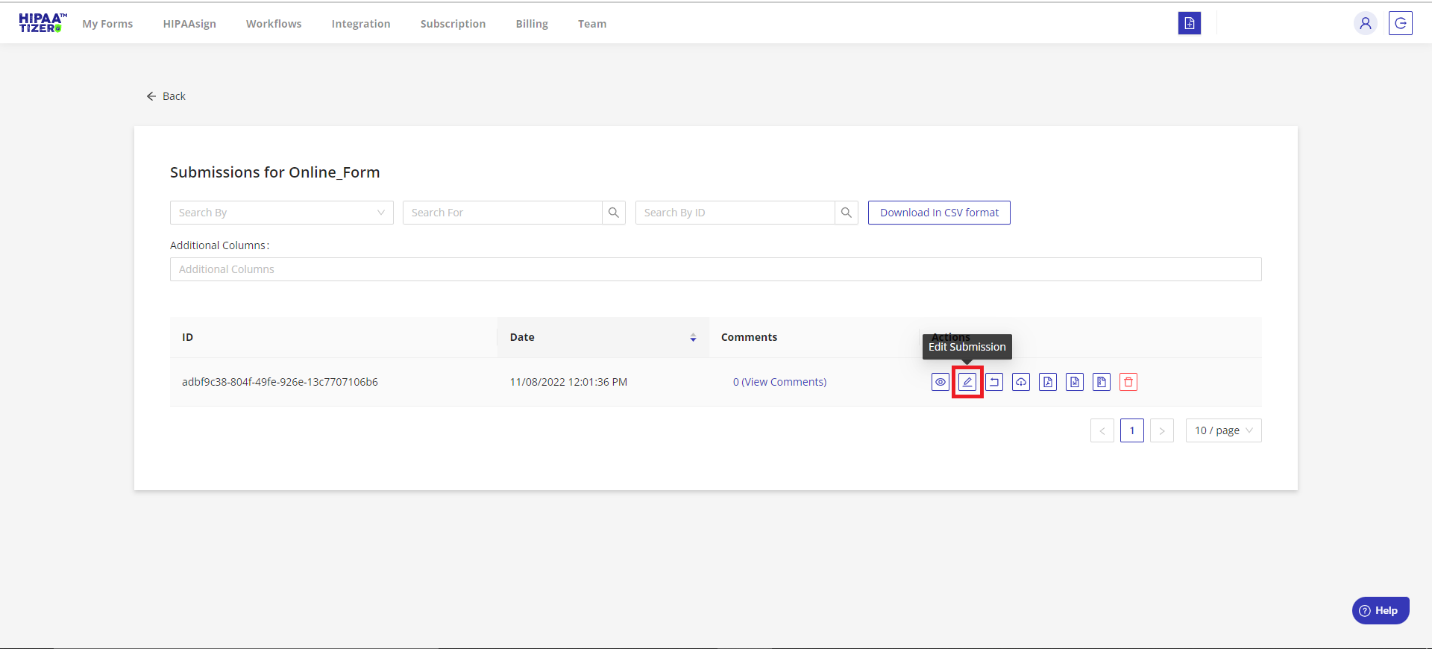

To make submissions easier to locate, go to the Submissions dashboard and use the Additional Columns option to display identifying fields (e.g., last name) that help you quickly find the right submission.
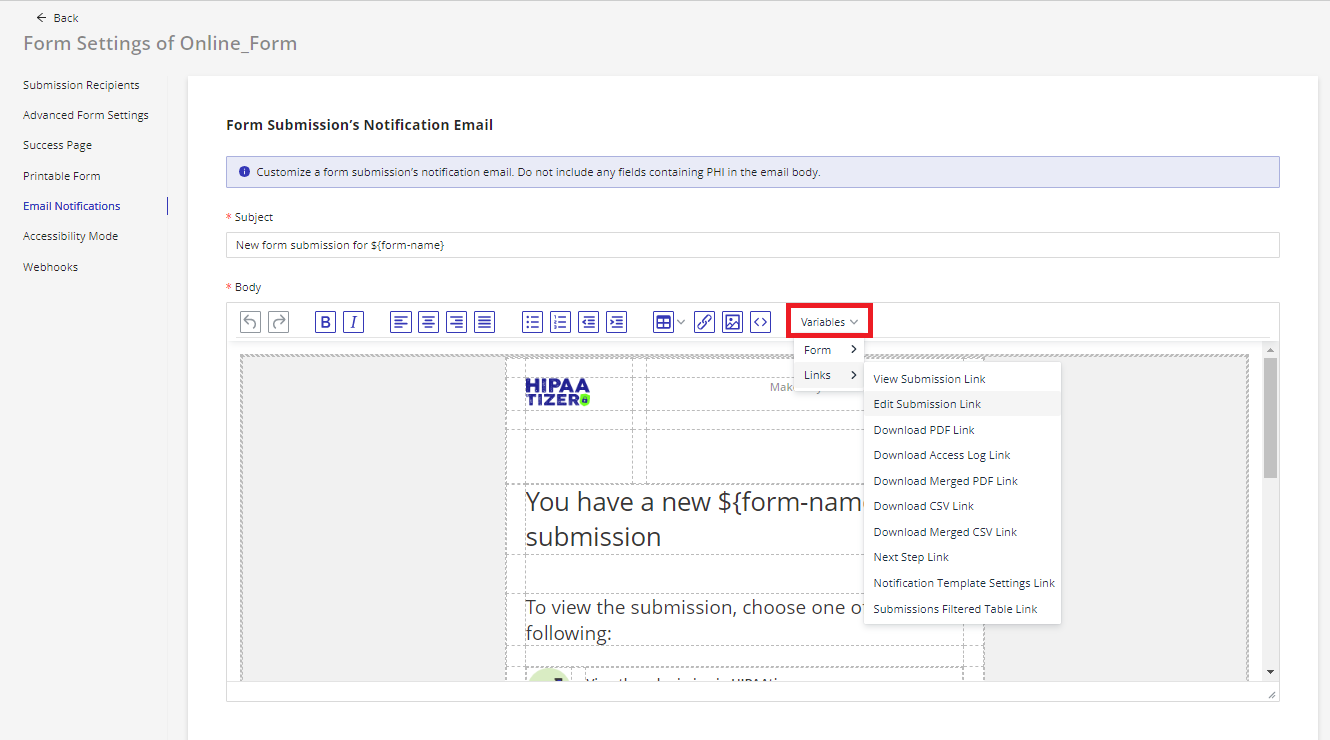
Adding Edit Links to Notification Emails
You can provide team members with direct access to edit internal fields by customizing your email notifications:
- Open the form's Form Settings.
- Go to the Email Notifications tab.
- Enable the Edit submission link option.
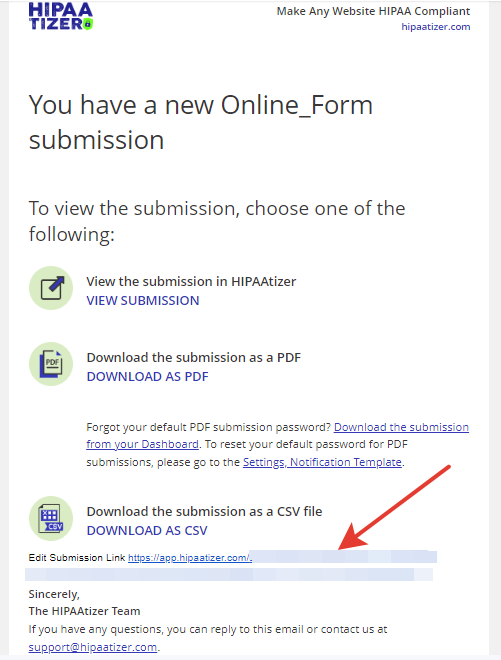
This will add an Edit Submission link to notification emails. Clicking the link takes the recipient directly to the submission editor, where internal-only fields can be filled in.

Adjusting Access Permissions
By default, all team roles can view and edit Internal Use Only fields. To restrict access:
- Go to My Profile → Profile Settings.
- Select the Permissions Settings tab.
- Deselect Edit Customer Data in Form Submissions for the roles you want to restrict.
Still have questions? Contact us.