# Doc: https://www.hipaatizer.com/docs/integrations/keragon
> LLM view for https://www.hipaatizer.com/docs/integrations/keragon
This file contains all documentation content in a single document following the llmstxt.org standard.
## Keragon Integration - HIPAAtizer
# Keragon Integration
Connect HIPAAtizer with Keragon to automatically send HIPAA-compliant form submissions into your healthcare workflows. Once configured, every new submission on your HIPAAtizer form triggers a Keragon workflow, letting you route data to EHRs, CRMs, notification systems, and more without writing code.
## Prerequisites
Before you begin, make sure you have:
- An active HIPAAtizer account with at least one **published** form.
- A Keragon account with permission to create workflows.
## Step 1: Create a New Workflow in Keragon
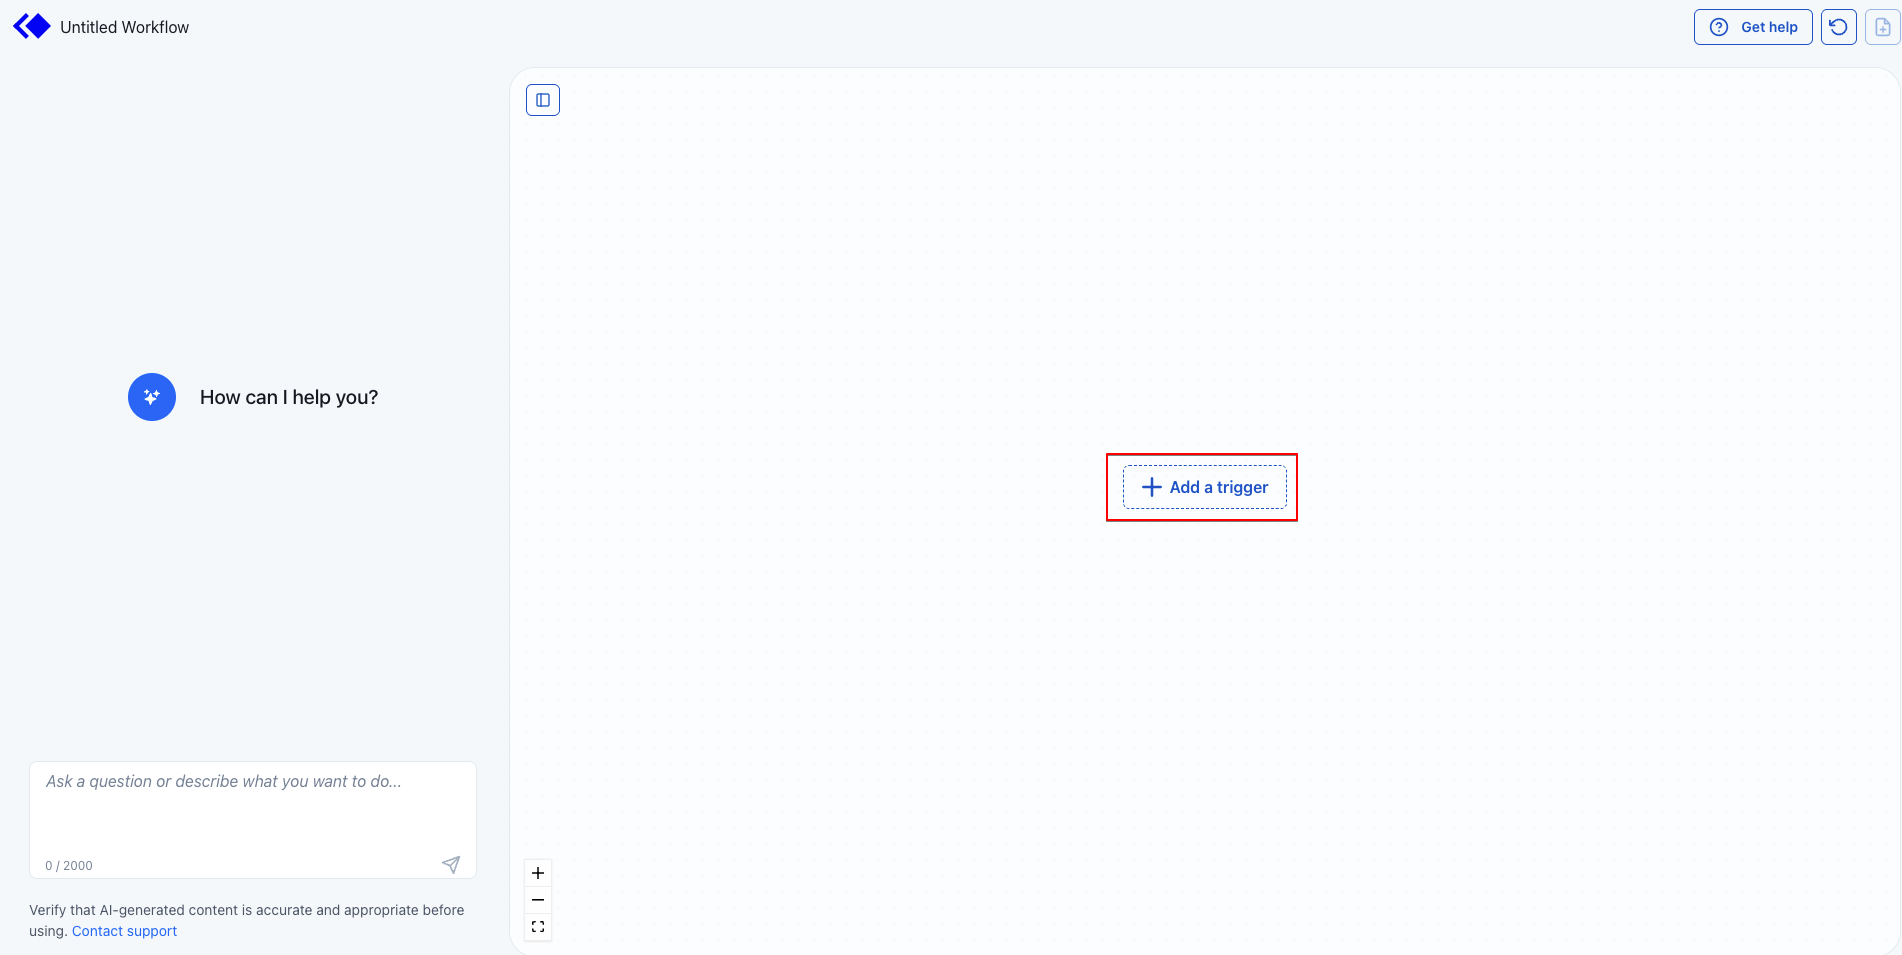
Log in to Keragon and create a new workflow (or open an existing one). On the workflow canvas, click **+ Add a trigger**.
## Step 2: Select HIPAAtizer as the Trigger App
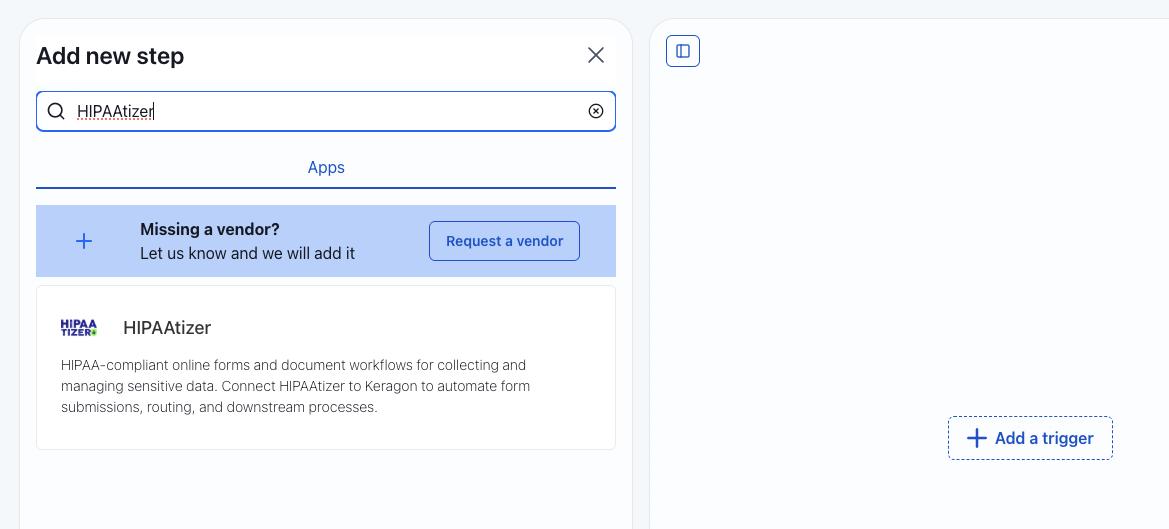
In the **Add new step** dialog, type **HIPAAtizer** in the search bar. Click the **HIPAAtizer** app from the results to add it as your trigger. The trigger type will be set to **New submission created**.
## Step 3: Connect Your HIPAAtizer Account
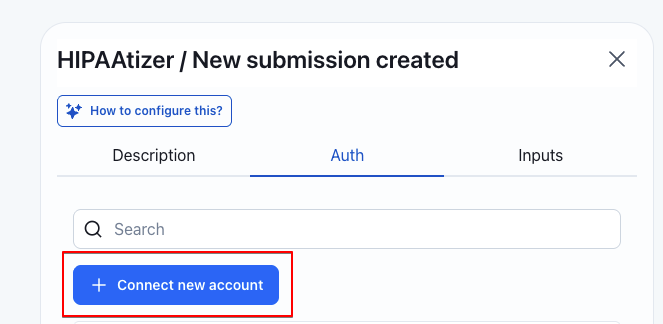
In the HIPAAtizer trigger configuration panel, switch to the **Auth** tab and click **+ Connect new account**.
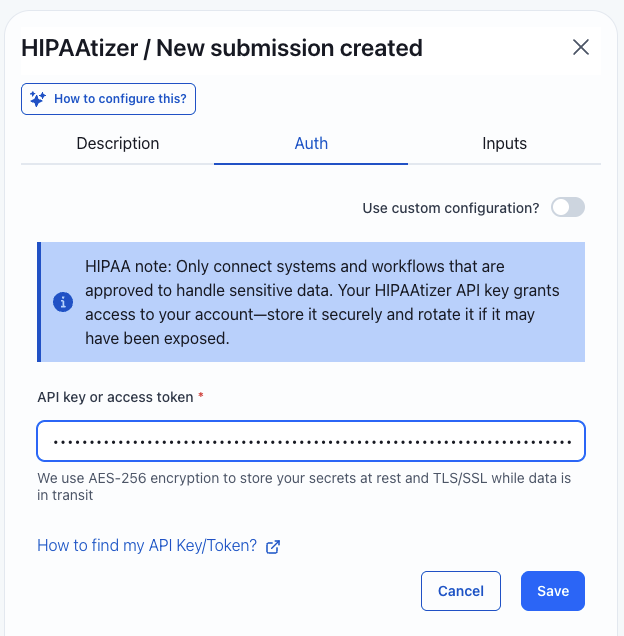
You will be prompted to enter an API key. To generate one:
1. Open your **HIPAAtizer Dashboard**.
2. Navigate to **Integrations > REST API**.
3. Click **Create API Key**.
4. Enter a descriptive name (for example, `Keragon-integration`).
5. Set an **Expiration Date** as needed.
6. Under **Allowed IPs**, select **Allow all IPs**.
7. Click **Create** and copy the generated key.
Back in Keragon, paste the key into the **API key or access token** field and click **Save**.
## Step 4: Choose a Form and Map Fields
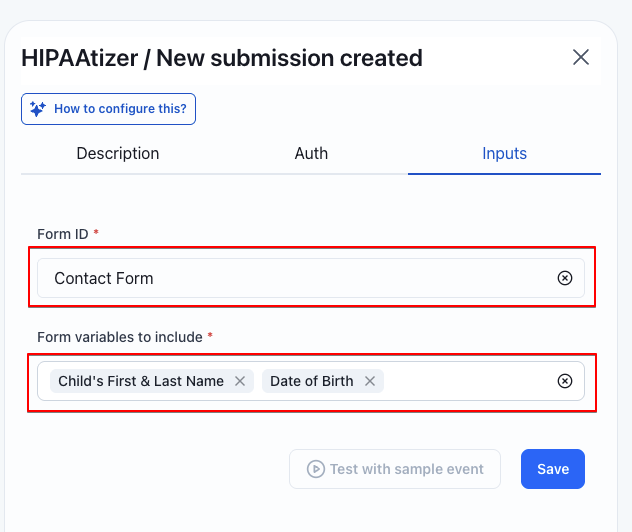
Once your account is connected, switch to the **Inputs** tab:
1. Select your form from the **Form ID** dropdown. Only published forms appear in this list.
2. In **Form variables to include**, pick the fields you want available in your Keragon workflow.
3. Optionally click **Test with sample event** to verify the connection, then click **Save**.
s
Your trigger is now active. Continue building your Keragon workflow by adding actions (e.g., sending data to an EHR, notifying a team via email, updating a spreadsheet) that will run each time a new submission comes in.
## Troubleshooting
### "Request failed with status code 401"
If you see the error **Failed to fetch options for property "formId" with error "Request failed with status code 401"**, your API key's IP restrictions are blocking Keragon's servers.
To fix this:
1. Open your **Integrations > REST API**.
2. Find the API key you created for Keragon and click **Edit**.
3. Change the **Allowed IPs** setting to **Allow all IPs**.
4. Save the change and retry the connection in Keragon.